
發佈日期:
分類:
如何利用XAMPP‧在本機(localhost)環境下用SMTP伺服器寄送電郵
01. 今天有朋友問到一個問題,營銷網站用WordPress加WooCommerce做好了,一切也算正常。但最大問題是客戶下單後,員工總是收不到網站發出的電郵通知。
02. 先檢查一下伺服器apache的error.log及access.log,一切也正常,沒有有關錯誤。
03. 網站是用WordPress做的,所以先測試一下wp_mail函數是否正常。在網站root位置,建立以下PHP檔案測試一下。
<?php
$to = "receiver@gmail.com";
$subject = 'wp_mail test';
$message = 'This is a testing message for wp_mail function.';
$headers = '';
define('WP_USE_THEMES', false);
require('wp-load.php');
$sent_message = wp_mail($to, $subject, $message, $headers);
if ($sent_message) {
echo 'Message is sent. Check your mailbox.';
} else {
echo 'Message is not sent.';
}
?>
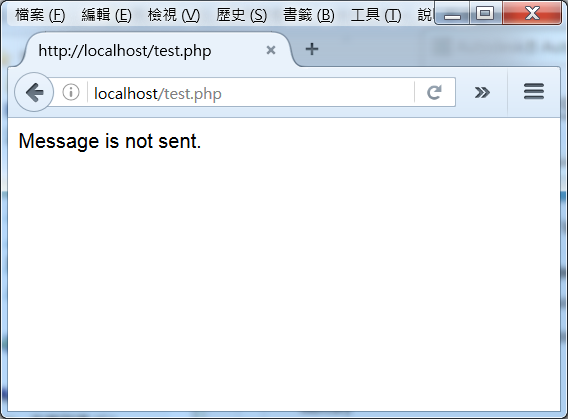
04. 出來的結果就是不能成功發出電郵。
05. 原來是需要設定localhost內的SMTP伺服器,沒有SMTP伺服器,就發不出電郵。那何來SMTP伺服器,免費的GMAIL就有了。
06. 打開XAMPP的php.ini檔案,更改以下內容:
將:
; extension=php_openssl.dll
更改為:
extension=php_openssl.dll
在[mail function]位置,將:
SMTP=localhost
smtp_port=25
;sendmail_path =
更改為:
SMTP=smtp.gmail.com
smtp_port=465
sendmail_path = "\\"C:\\xampp\\sendmail\\sendmail.exe\\" -t"
07. 打開XAMPP的sendmail.ini檔案,正常sendmail.ini檔案是位於c:\\xampp\\sendmail資料夾內。
在[sendmail]位置,將:
smtp_server=mail.mydomain.com
smtp_port=25
auth_username=
auth_password=
更改為:
smtp_server=smtp.gmail.com
smtp_port=465
auth_username=<your gmail login>
auth_password=<your gmail password>
08. 完成後,重新啟動apache服務。
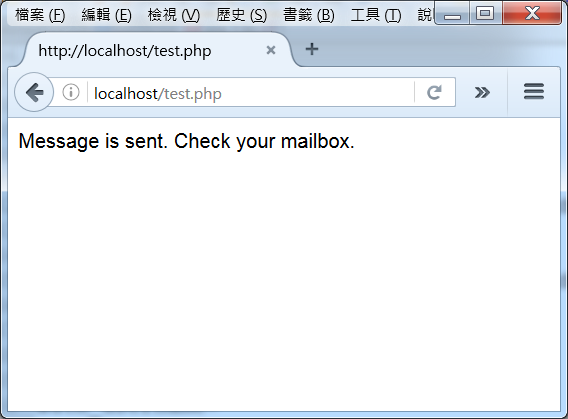
09. 再次執行第3項的程式碼,這次應看到郵件成功傳送訊息。
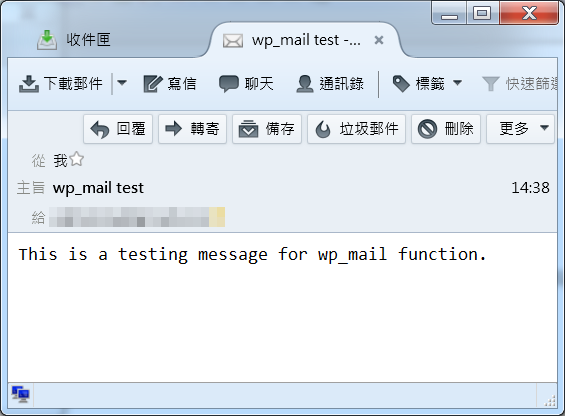
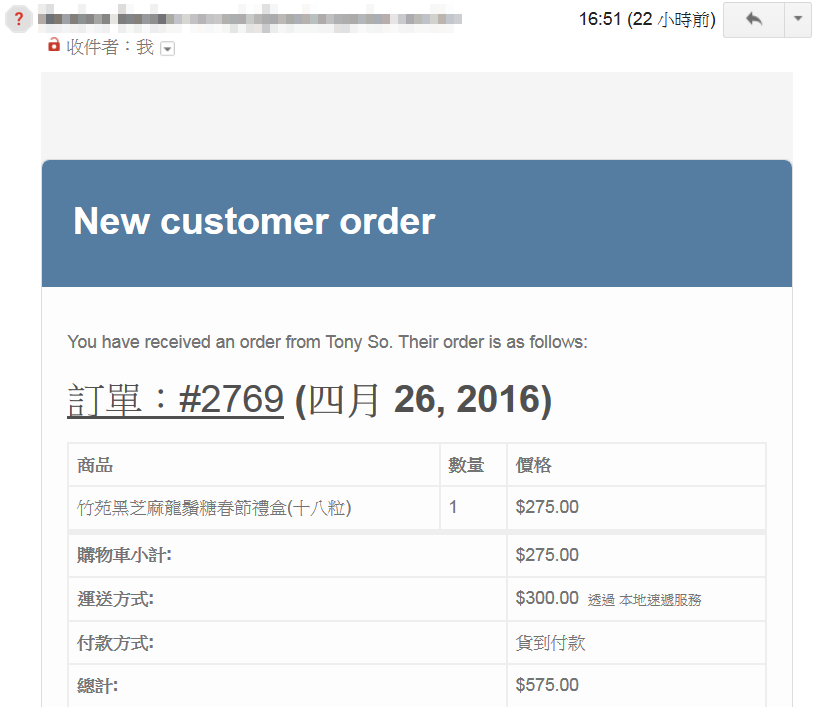
10. 而在第3項設置的收件人中,會收取到以下電郵。
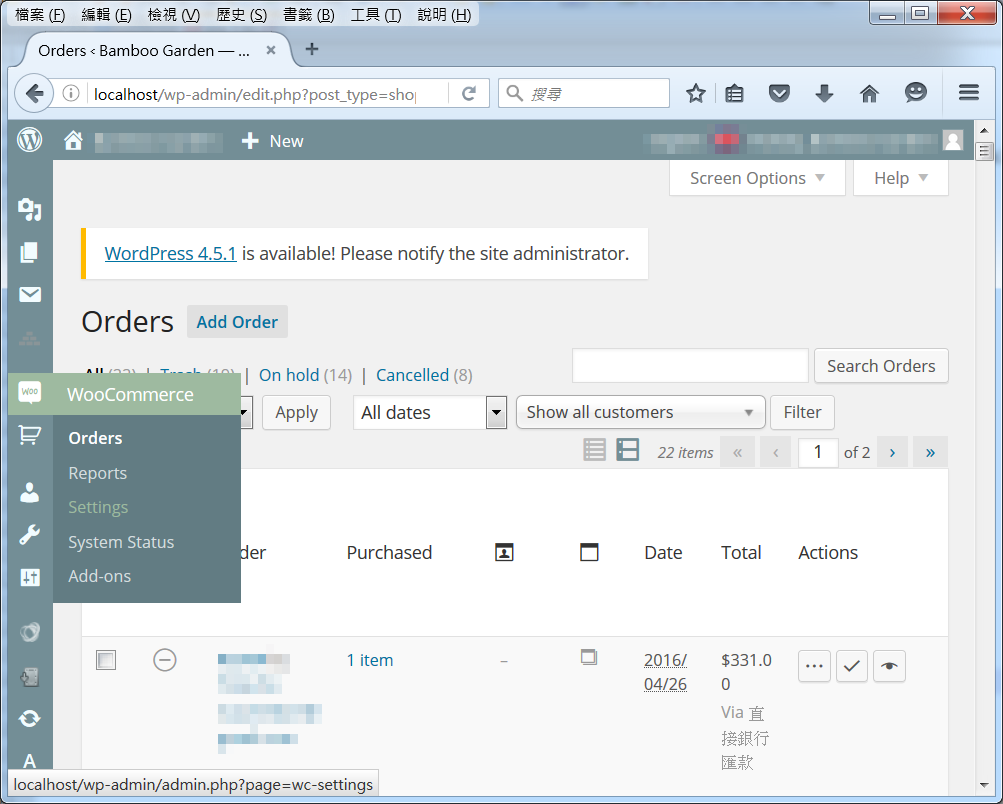
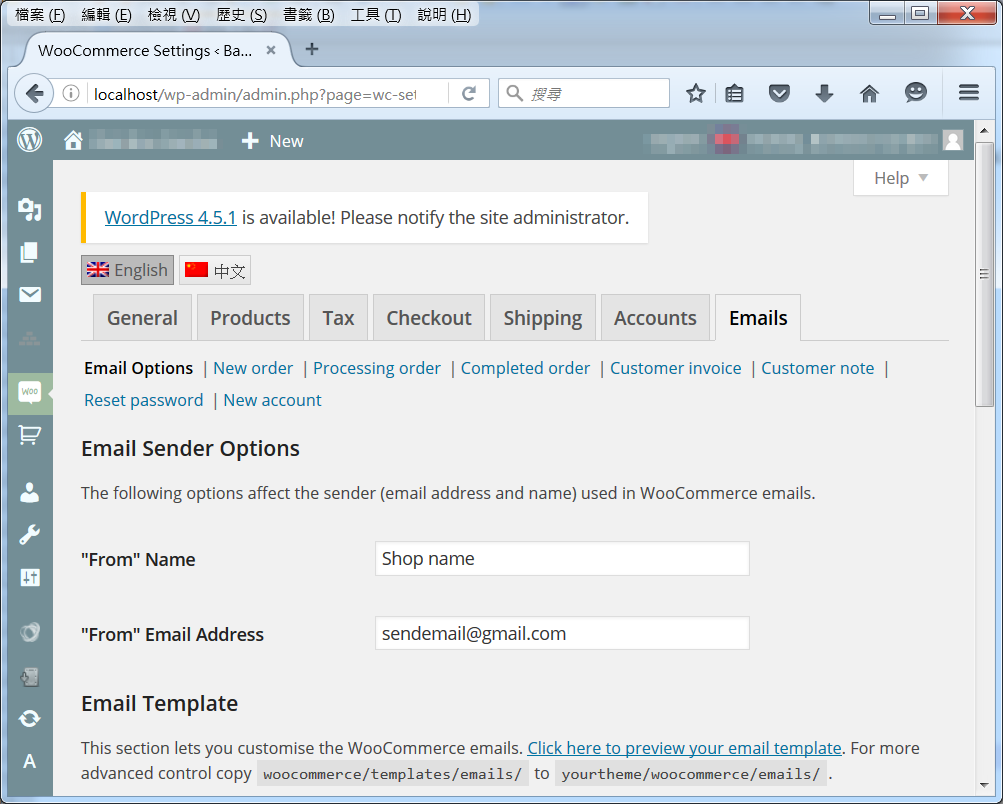
11. 登入WordPress,在左邊目錄選WooCommerce圖示,再選擇『Settings』。
12. 在目錄表中選『Emails』,確保Email Sender Options內的名稱及電郵正確。
13. 按下『New Order』連結,確保Enable/Disable是已打勾,及當有新訂單時,要收到通知的收信人電郵,完成後記緊要儲存設定。
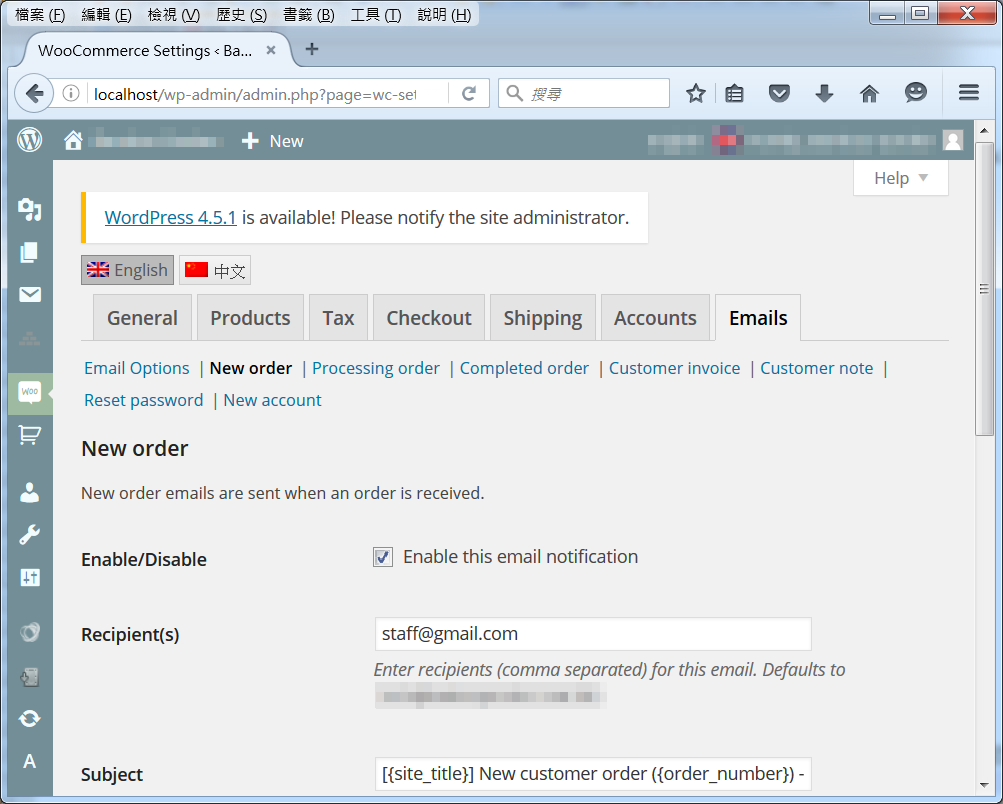
14. 當有新訂單時,便會收到通知。
發佈留言