發佈日期:
如何在Amazon EC2中的Postfix伺服器‧安裝Dovecot的IMAP協定
01. Postfix安裝後,也試過在伺服器上收發電郵,今天會安裝Dovecot的IMAP協定,以便用戶可在其他電郵客戶端上收發電郵。02. 安裝Dovecot程式及IMAP協定。
sudo apt install dovecot-core dovecot-imapd

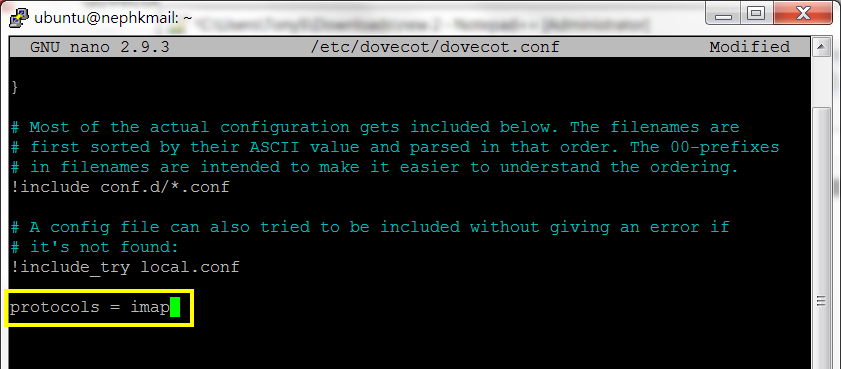
03. 打開dovecot.conf檔案。
sudo nano /etc/dovecot/dovecot.conf

在檔案最下面加入以下內容:
protocols = imap
04. 打開10-mail.conf檔案。
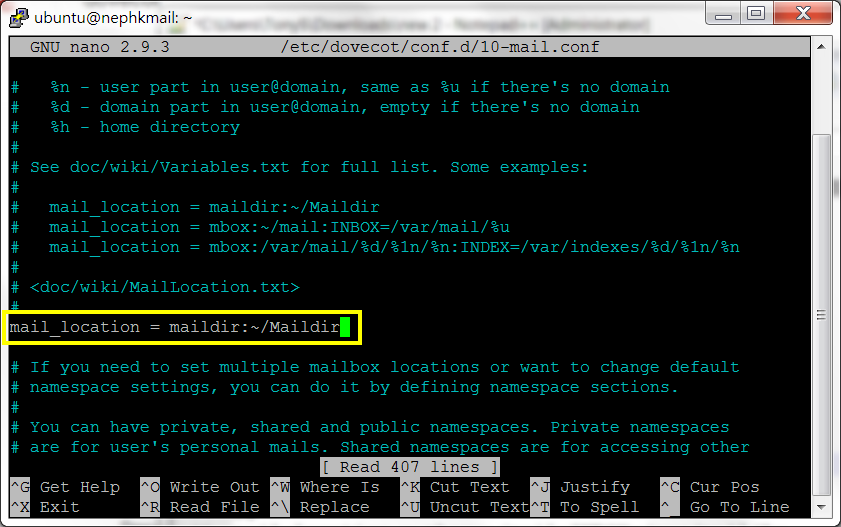
sudo nano /etc/dovecot/conf.d/10-mail.conf

將:
mail_location = mbox:~/mail:INBOX=/var/mail/%u
更改為(這是Postfix用戶郵箱放置位置。當初設定郵箱時我用了這名稱。):
mail_location = maildir:~/Maildir
05. 將dovecot用戶加入mail群組。
sudo gpasswd -a dovecot mail

06. 打開10-auth.conf檔案。
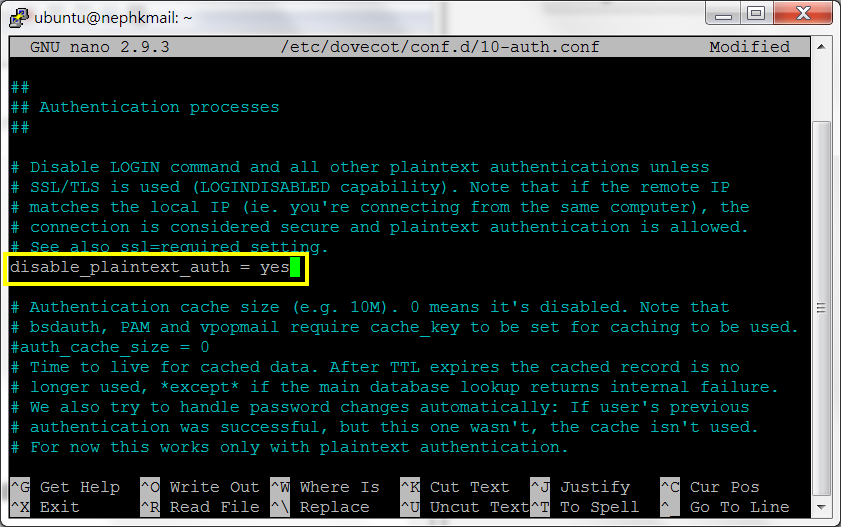
sudo nano /etc/dovecot/conf.d/10-auth.conf

將:
# disable_plaintext_auth = yes
更改為:
disable_plaintext_auth = yes
將:
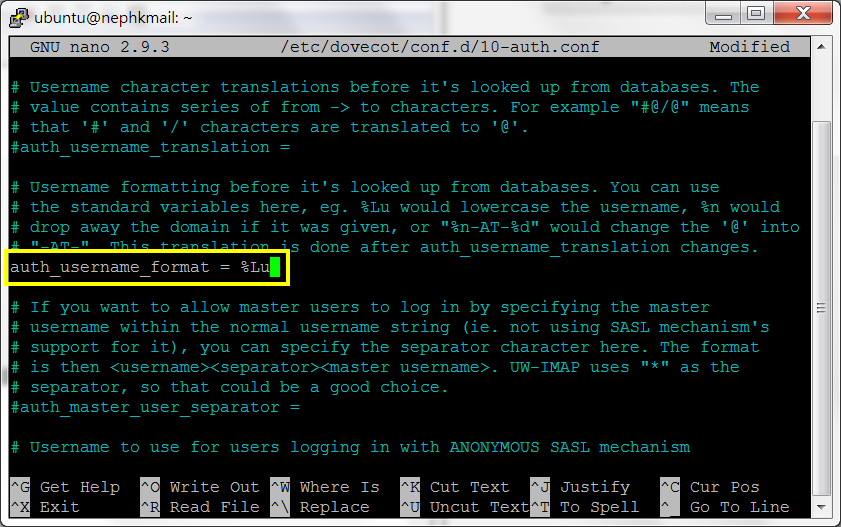
# auth_username_format = %Lu
更改為(我選擇了以細階英文作為登入名稱,):
auth_username_format = %Lu
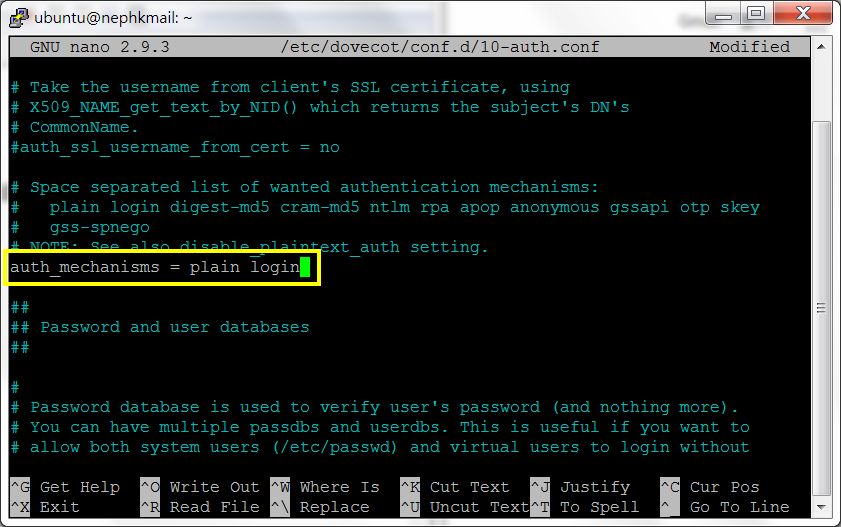
將:
auth_mechanisms = plain
更改為(除簡單認證(PLAIN authentication),會再加入登入認證(LOGIN authentication)):
auth_mechanisms = plain login
07. 打開10-master.conf檔案。
sudo nano /etc/dovecot/conf.d/10-master.conf

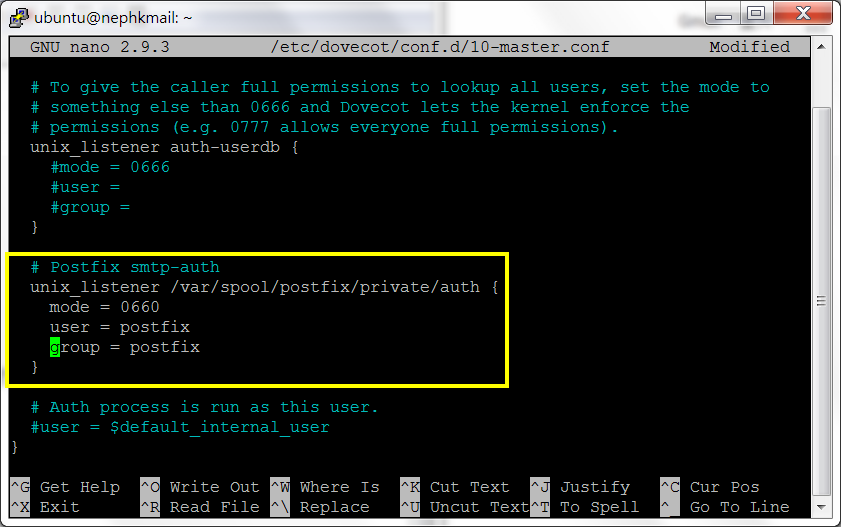
將:
# Postfix smtp-auth
#unix_listener /var/spool/postfix/private/auth {
#  mode = 0666
#}
更改為:
# Postfix smtp-auth
unix_listener /var/spool/postfix/private/auth {
mode = 0660
user = postfix
group = postfix
}
08. 打開15-mailboxes.conf檔案。
sudo nano /etc/dovecot/conf.d/15-mailboxes.conf

將:
mailbox Drafts {
special_use = \Drafts
}
mailbox Junk {
special_use = \Junk
}
mailbox Trash {
special_use = \Trash
}
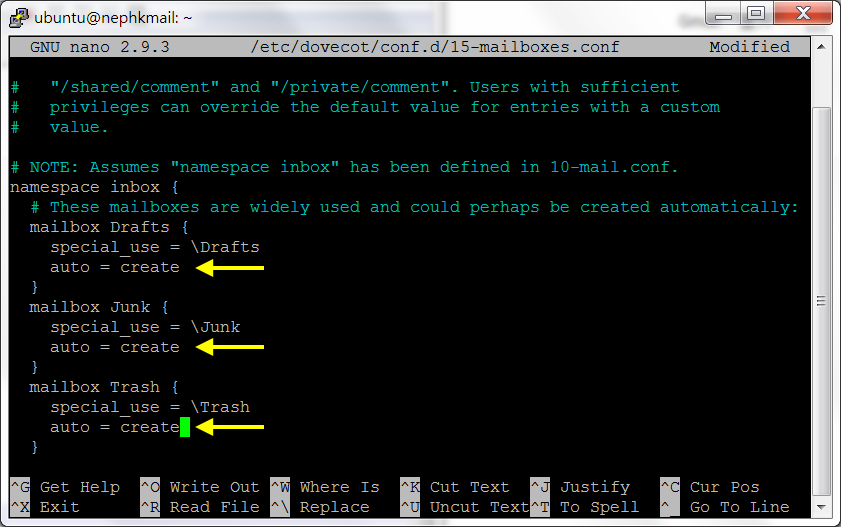
更改為:
mailbox Drafts {
special_use = \Drafts
auto = create
}
mailbox Junk {
special_use = \Junk
auto = create
}
mailbox Trash {
special_use = \\Trash
auto = create
}
將:
mailbox Sent {
special_use = \Sent
}
mailbox "Sent Messages" {
special_use = \Sent
}
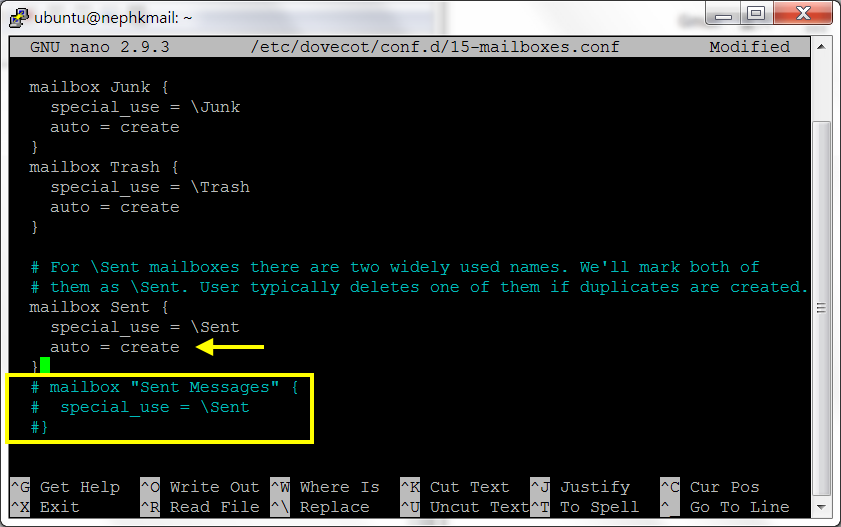
更改為:
mailbox Sent {
special_use = \Sent
auto = create
}
# mailbox "Sent Messages" {
# special_use = \Sent
# }
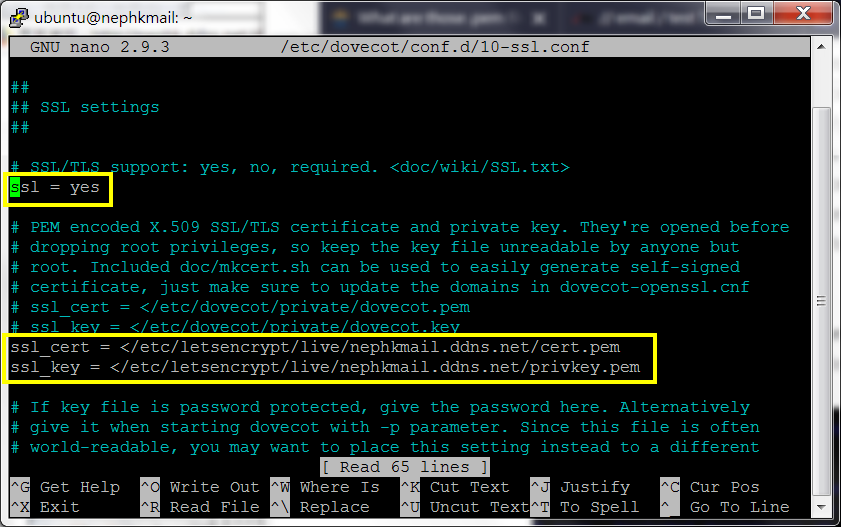
09. 打開10-ssl.conf檔案。
sudo nano /etc/dovecot/conf.d/10-ssl.conf

確認:
ssl = yes
將:
ssl_cert = </etc/dovecot/private/dovecot.pem
ssl_key = </etc/dovecot/private/dovecot.key
更改為:
ssl_cert = </etc/letsencrypt/live/nephkmail.ddns.net/cert.pem
ssl_key = </etc/letsencrypt/live/nephkmail.ddns.net/privkey.pem
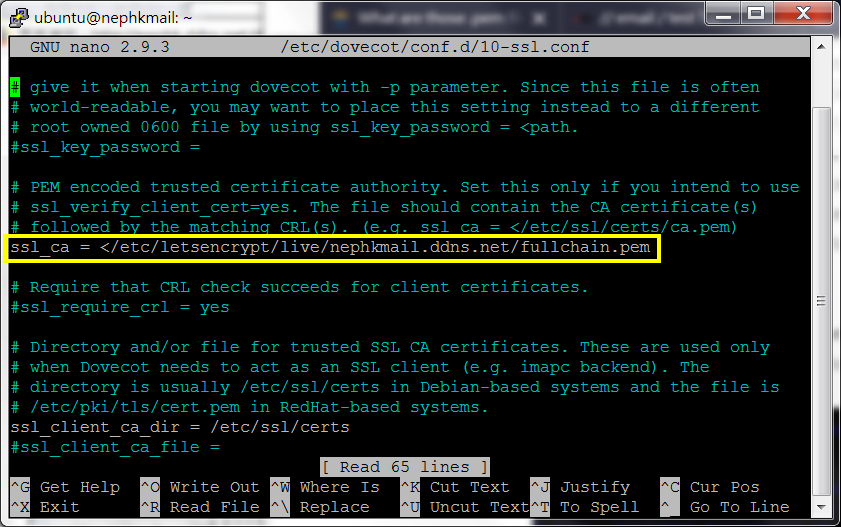
將:
# ssl_ca =
更改為:
ssl_ca = </etc/letsencrypt/live/nephkmail.ddns.net/fullchain.pem
10. 重新啟動Dovecot及Postfix服務。
sudo systemctl restart dovecot
sudo systemctl restart postfix

11. 確認EC2防火牆已打開相應的埠位。
Port 25 (default SMTP)
Port 143 (default IMAP)
Port 993 (SSL/TLS IMAP)
Port 995 (SSL/TLS POP3)
13. 你會發現一個奇怪的情況。自己網域內收發電郵是沒有問題;由外面網域電郵發到自己網域也是沒有問題;唯獨由自己網域電郵發到外面網域就會出現錯誤。

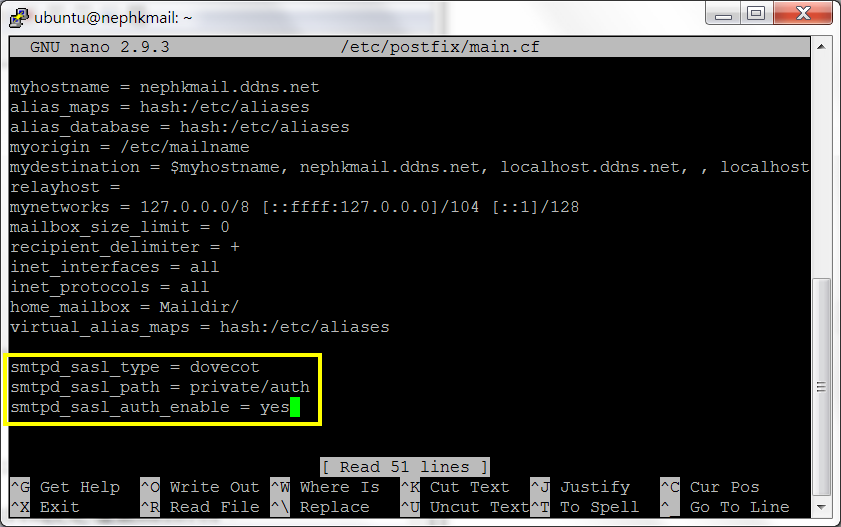
14. 此問題就是因為電郵轉發(mail relay)設定問題。打開Postfix設定檔案main.cf。
sudo nano /etc/postfix/main.cf

加入以下內容:
smtpd_sasl_type = dovecot
smtpd_sasl_path = private/auth
smtpd_sasl_auth_enable = yes
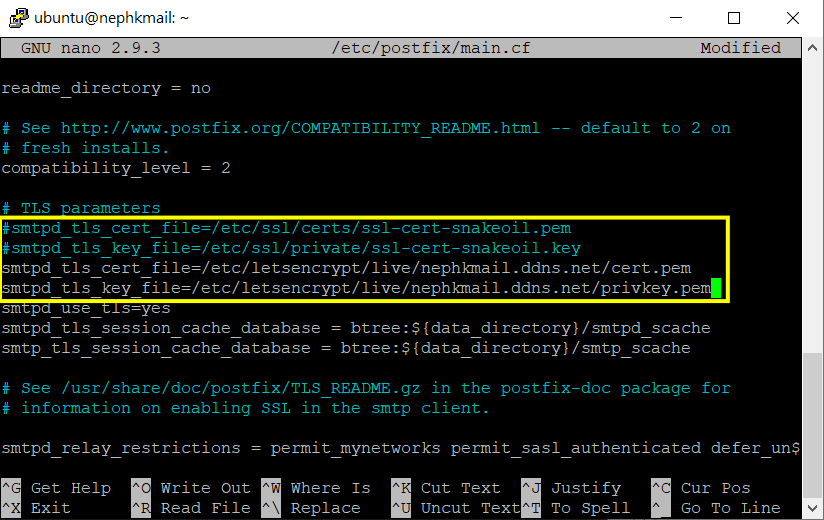
15. 同時,亦可為Postfix伺服器加入加密證書。
將:
smtpd_tls_cert_file=/etc/ssl/certs/ssl-cert-snakeoil.pem
smtpd_tls_key_file=/etc/ssl/private/ssl-cert-snakeoil.key
更改為:
smtpd_tls_cert_file=/etc/letsencrypt/live/nephkmail.ddns.net/cert.pem
smtpd_tls_key_file=/etc/letsencrypt/live/nephkmail.ddns.net/privkey.pem
16. 重新啟動Postfix服務。
sudo systemctl restart postfix

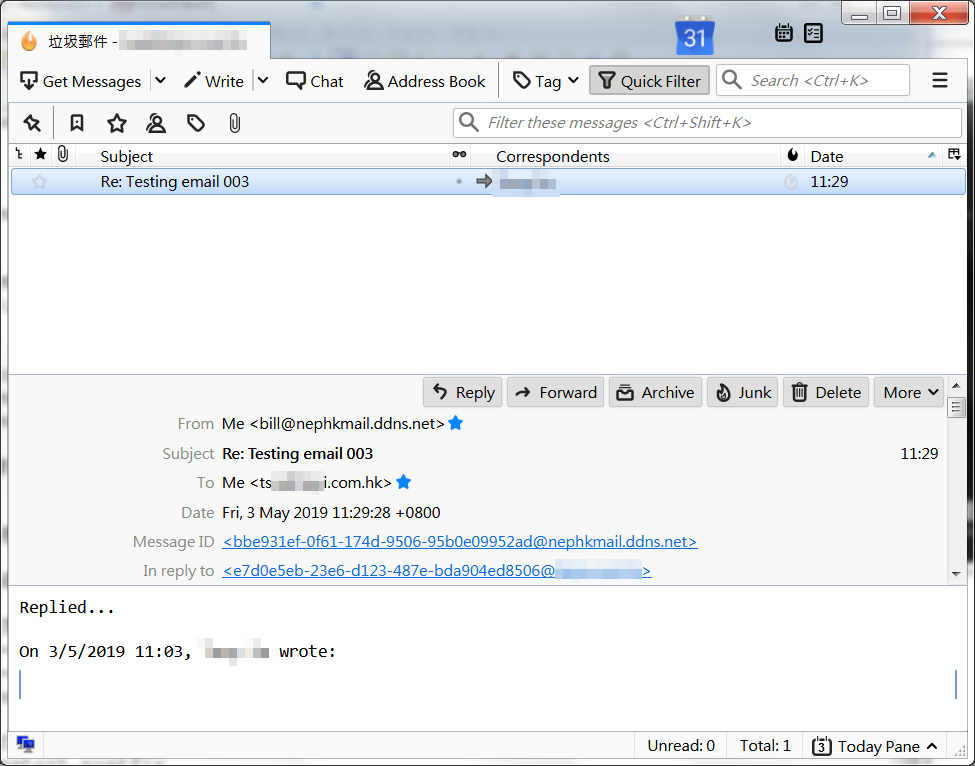
17. 郵件可以經客戶端寄出。

發佈留言