
發佈日期:
分類:
如何在PrestaShop 1.3.7下‧當用戶註冊時‧建立確認基制
PrestaShop預設的用戶註冊,只需要填入電郵、密碼、個人資料便可完成註冊。但很多人,特別是公司內的高層,總會想著,很多人會來搗亂它的網站一樣,硬要加個註冊確認程序在內。要是知道現在要申請一個免費的電郵要有多難,想攪這個確認又有何用呢?算吧!受人錢財,替人消災,就是那麼簡單。
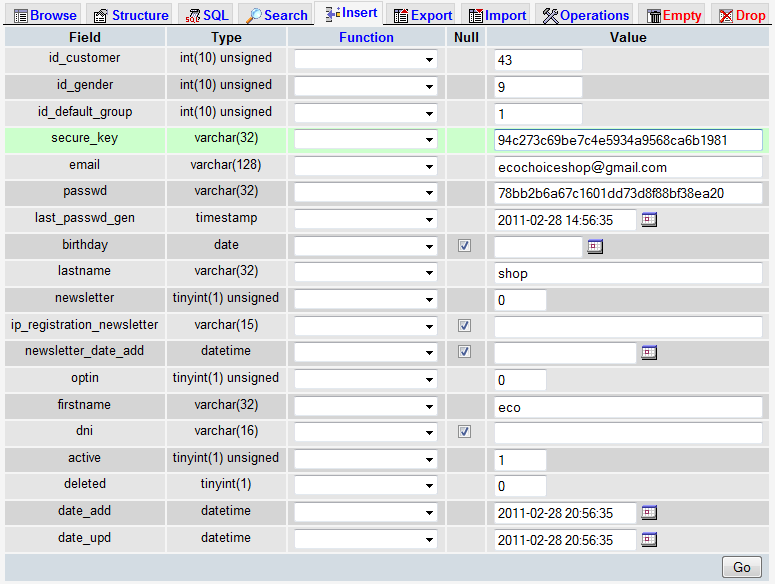
01. 尋找PrestaShop用戶註冊後,在數據庫ps_customer表格中,中會找到一個secure_key及active一欄,就用這兩個欄位,來判斷用戶是否已註冊及確認。
02. 編輯PrestaShop安裝目錄下的authentication.php檔案,跳到第101行。
將:
$customer->active = 1;
更改為:
$customer->active = 0;
此更改會將所有用戶註冊後,其active一欄預設為0,即用戶資料會存入數據庫內,但依然不能成功登入。
03. 跳到第112行。
將:
array('{firstname}' => $customer->firstname, '{lastname}' => $customer->lastname, '{email}' => $customer->email, '{passwd}' => Tools::getValue('passwd')), $customer->email, $customer->firstname.' '.$customer->lastname))
更改為:
array('{securekey}' => $customer->secure_key, '{firstname}' => $customer->firstname, '{lastname}' => $customer->lastname, '{email}' => $customer->email, '{passwd}' => Tools::getValue('passwd')), $customer->email, $customer->firstname.' '.$customer->lastname))
此更改會在電郵發出時,可使用securekey作為快捷鍵。
04. 編輯PrestaShop安裝目錄下的mails/en/account.html檔案,在適當位置,加入以下內容。
<tr><td> </td></tr>
<tr>
<td align="left">To activiate your account, please click link: <a href="{shop_url}validation.php?securekey={securekey}">{shop_url}validation.php?securekey={securekey}</a></td>
</tr>
05. 編輯PrestaShop安裝目錄下的mails/en/account.txt檔案,在適當位置,加入以下內容。
To activiate your account, please click link: {shop_url}validation.php?securekey={securekey}
06. 在PrestaShop安裝目錄下,建立新檔案validation.php,並加入以下內容。
<?php
$sk = $_GET["securekey"];
include(dirname(__FILE__).'/config/config.inc.php');
include(dirname(__FILE__).'/init.php');
$link = mysql_connect(_DB_SERVER_, _DB_USER_, _DB_PASSWD_);
if (!$link) {
die('Could not connect: '.mysql_error());
}
else {
mysql_select_db(_DB_NAME_, $link);
$sql = "SELECT COUNT(id_customer) FROM "._DB_PREFIX_."customer WHERE secure_key = '".$sk."'";
$result = mysql_fetch_array(mysql_query($sql));
$update = $result['COUNT(id_customer)'];
if ($update == 1) {
$sql = "UPDATE "._DB_PREFIX_."customer SET active = '1' WHERE secure_key = '".$sk."'";
mysql_query($sql);
}
header('location:authentication.php?reg='.$update);
}
mysql_close($link);
?>
此檔案在用戶按下電郵內連結後,,將數據庫內active一欄設為1,及將結果傳回authentication.php檔案。
07. 編輯PrestaShop安裝目錄下的authentication.php檔案。
將:
<?php
更改為:
<?php
if (isset($_GET["reg"])) {
if ($_GET["reg"] == 1) {
echo '<table width="100%" bgcolor="#197A19">';
echo '<tr><td align="center"><font color="#ffffff" size="2">Validation successful!</font></td></tr>';
echo '</table>';
}
if ($_GET["reg"] == 0) {
echo '<table width="100%" bgcolor="#197A19">';
echo '<tr><td align="center"><font color="#ffffff" size="2">Validation failure.  Please contact our administrator.</font></td></tr>';
echo '</table>';
}
}
08. 完成後,可在PrestaShop中建立新用戶作測試。
發佈留言