
發佈日期:
如何在Windows Server中‧安裝System Center Configuration Manager (SCCM)
01. 要安裝System Center Configuration Manager (SCCM),首先要確認Windows Server合乎軟件的最低要求。02. 另外,除SCCM軟件本身外,還需要安裝以下的軟件。
- Microsoft SQL Server 2017
- Microsoft SQL Server Management Studio
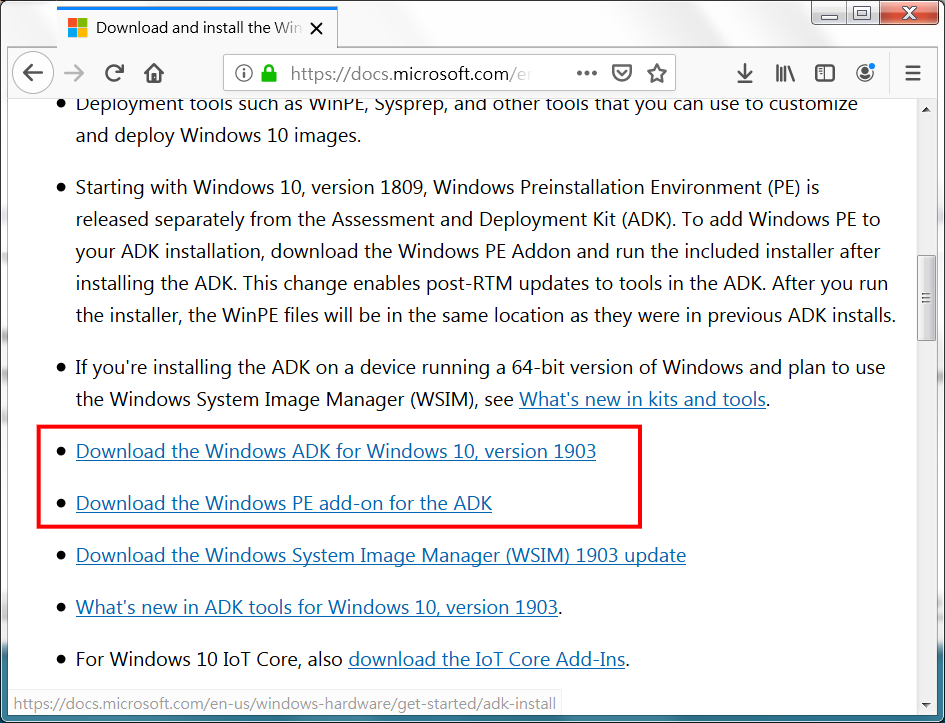
- Windows ADK for Windows 10, version 1903
- Windows PE add-on for the ADK
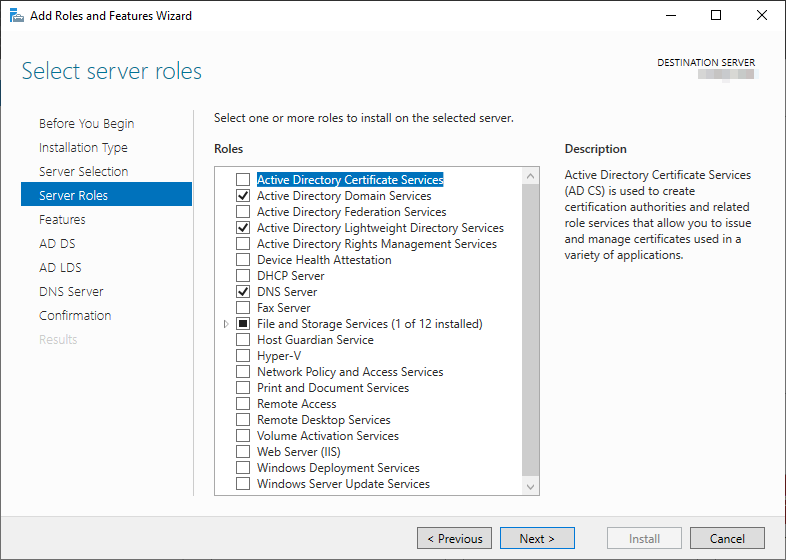
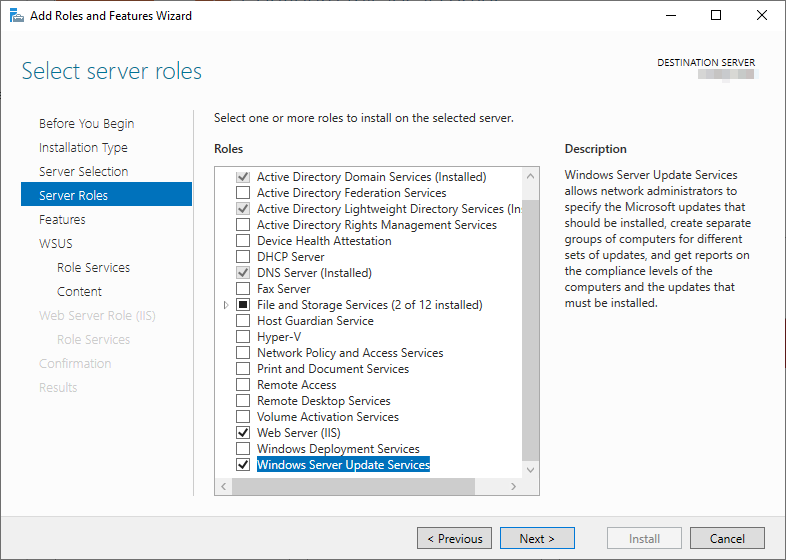
03. 而Windows Server則需要安裝以下Roles。
- Active Directory Domain Services
- Active Directory Lightweight Directory Services
- DNS Server
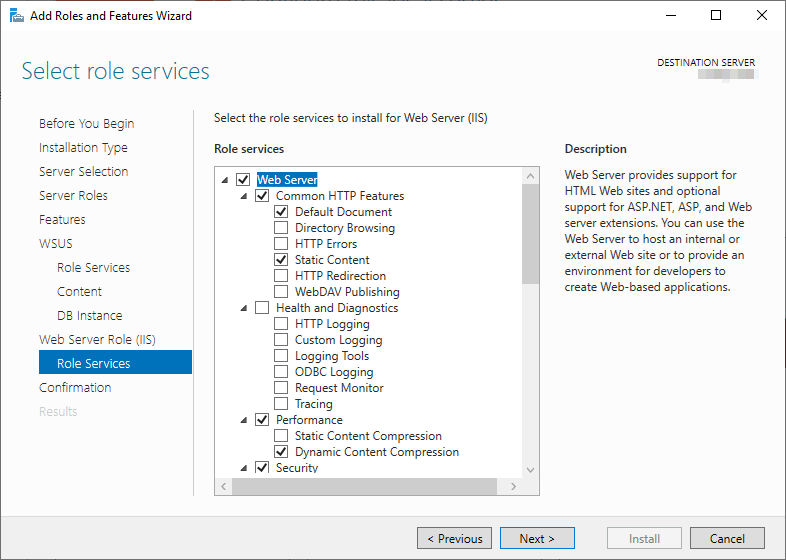
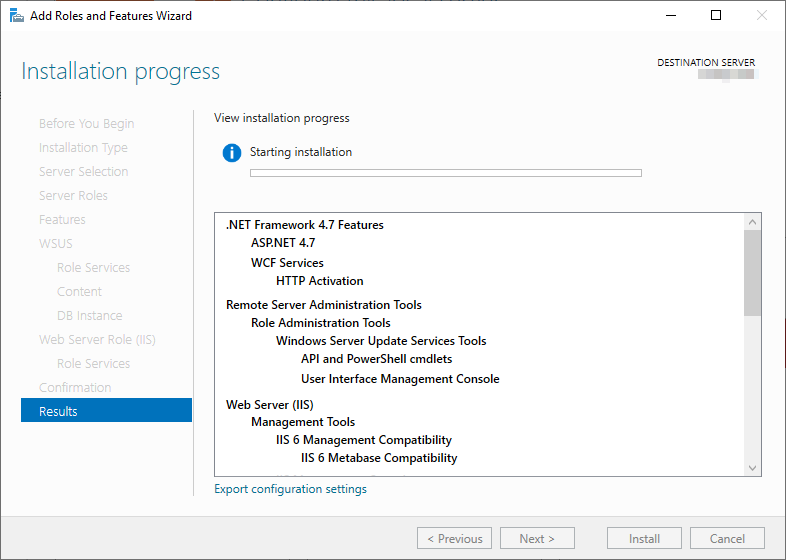
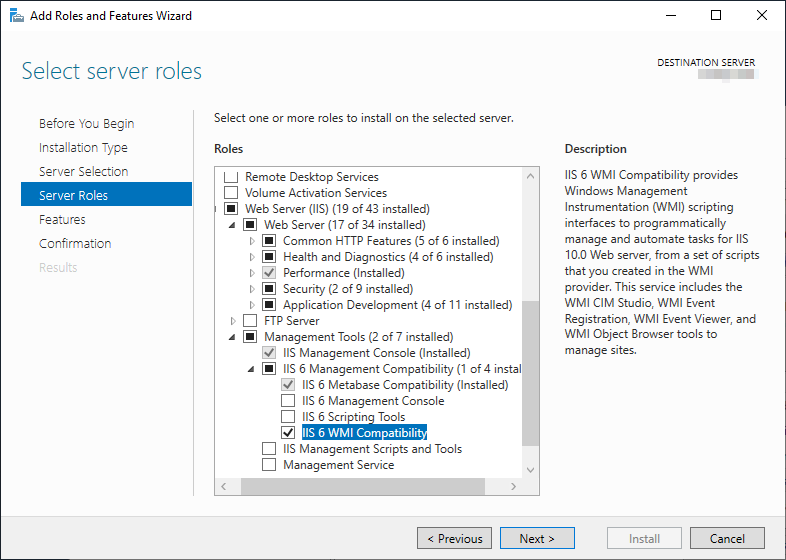
- Web Server > Management Tools > IIS 6 Managment Compatibility > IIS 6 WMI Compatibility
- Windows Server Update Services
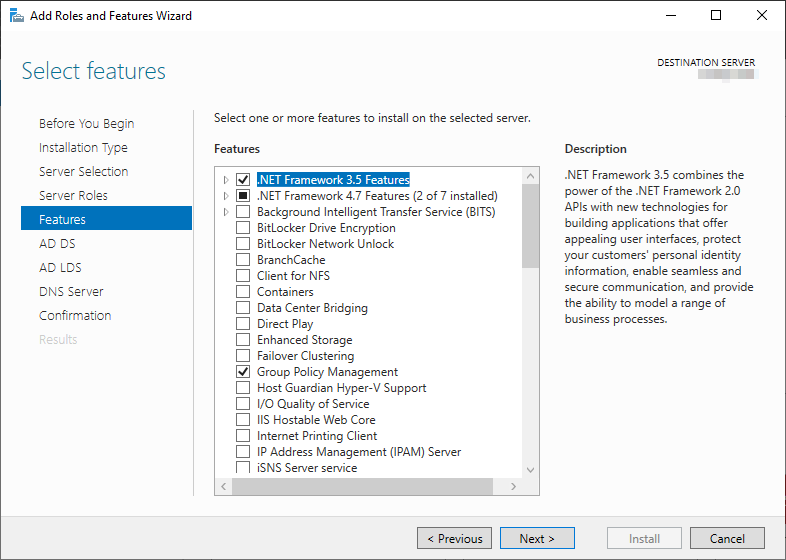
04. 及安裝以下Features。
.NET Framework 3.5 Features
Background Intelligent Transfer Service
Remote Differential Compression

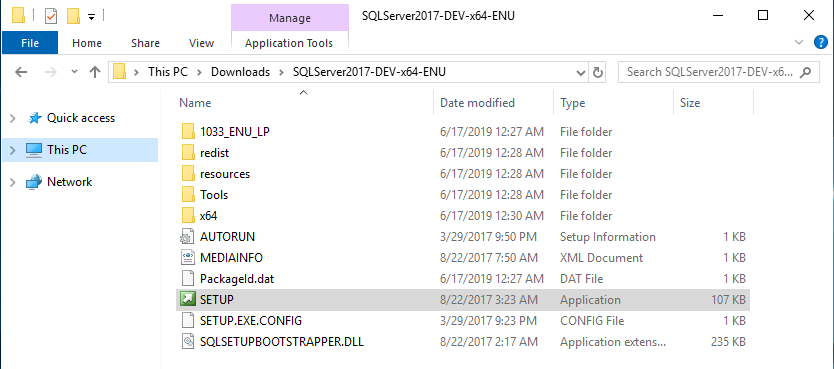
05. 下載及安裝MSSQL 2017。
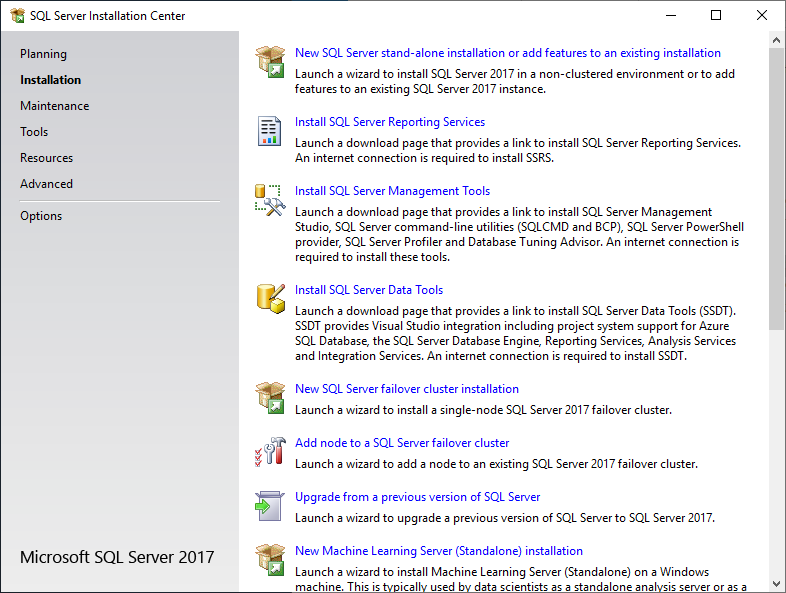
06. 在左邊目錄選擇『Installation』。
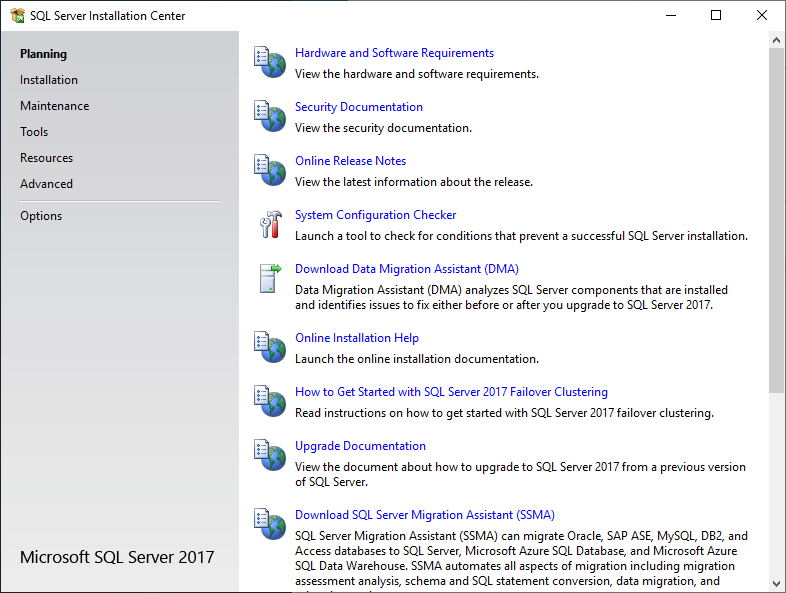
07. 右邊按『New SQL Server stand-alone installation or add features to an existing installation』。
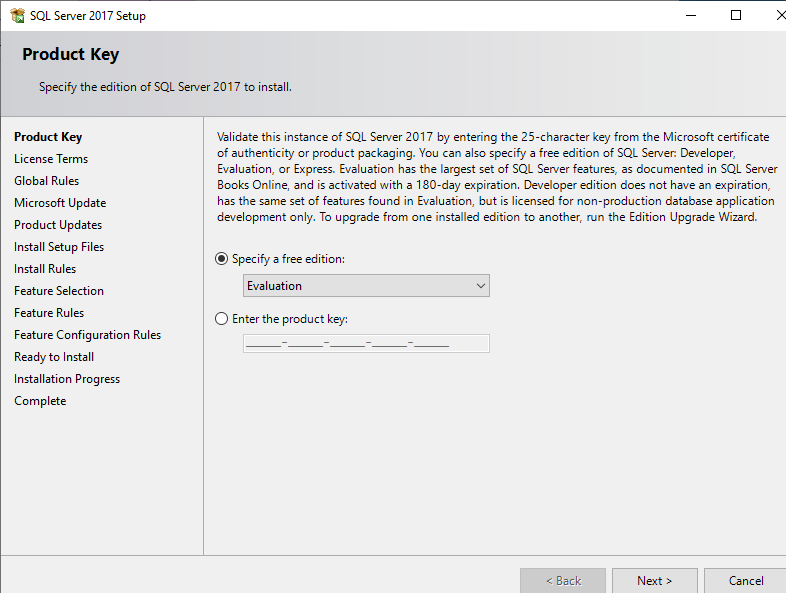
08. 既然是測試,當然選擇『Evaluation』。
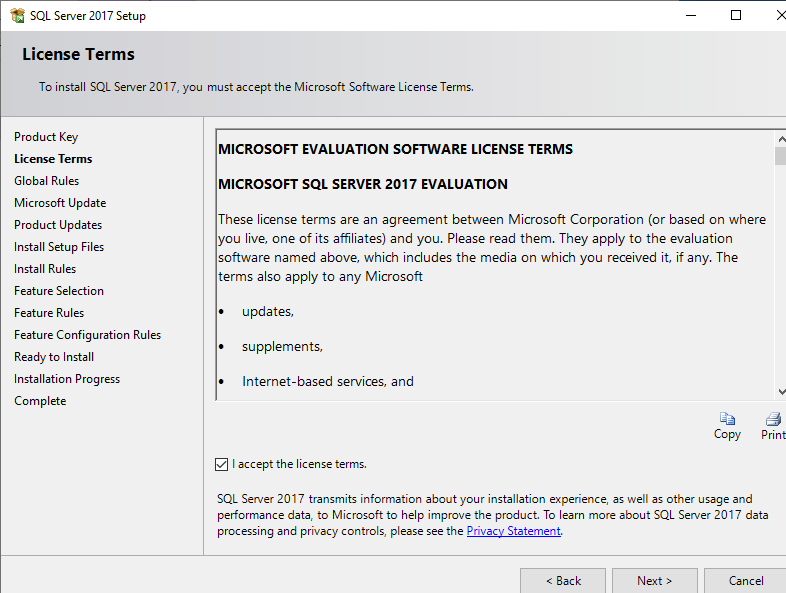
09. 接受軟件協議。
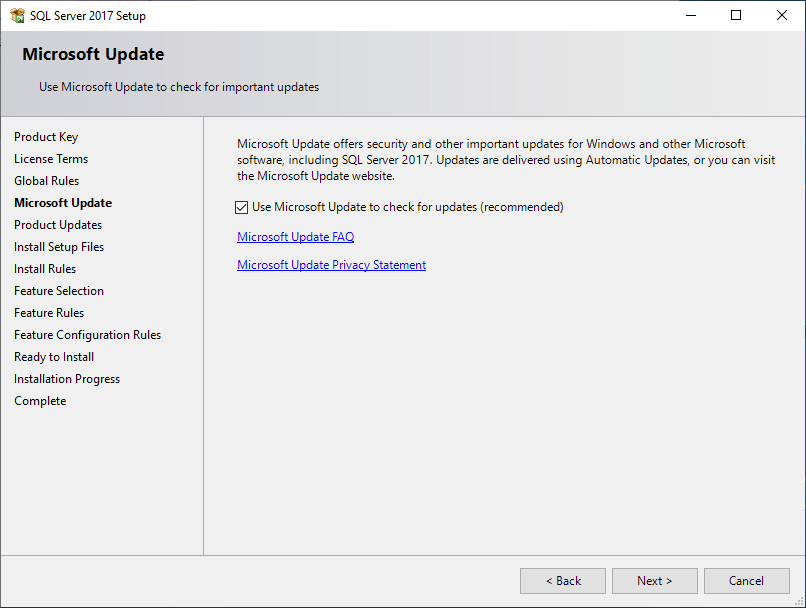
10. 選擇是否接受Microsoft Update。
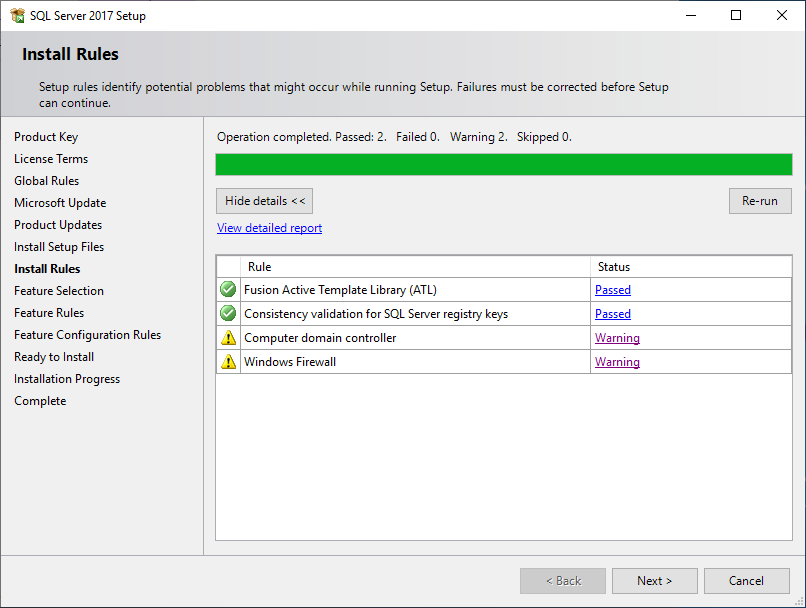
11. 安裝前檢查,Waring不會影響安裝,但也可以檢視內容是否影響之後操作。
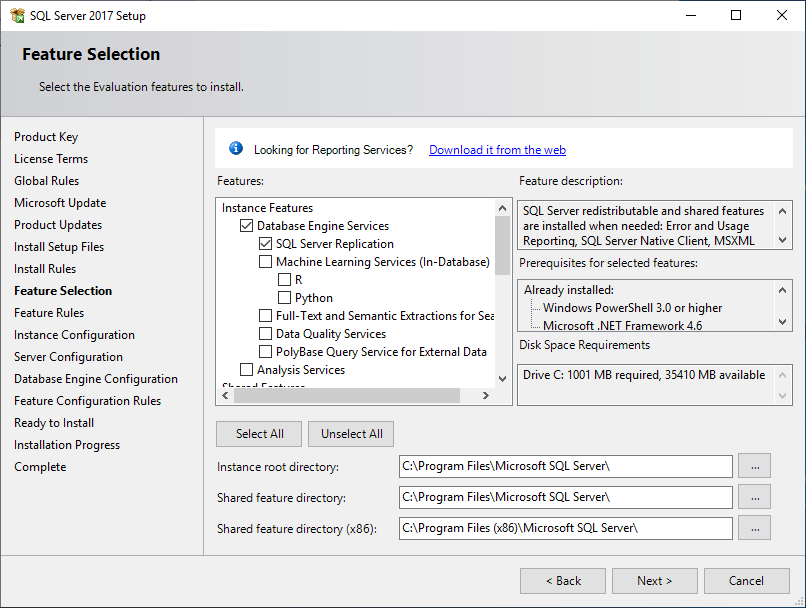
12. 我只選擇安裝『SQL Server Replication』。
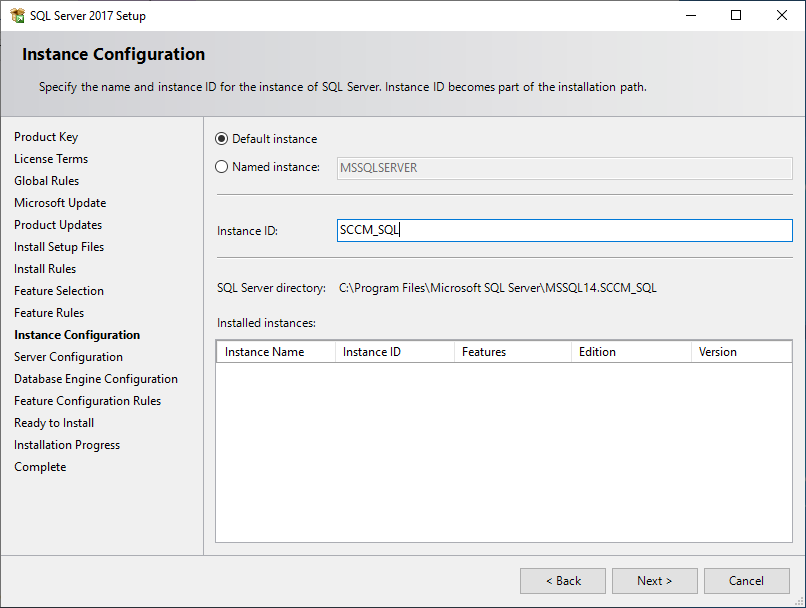
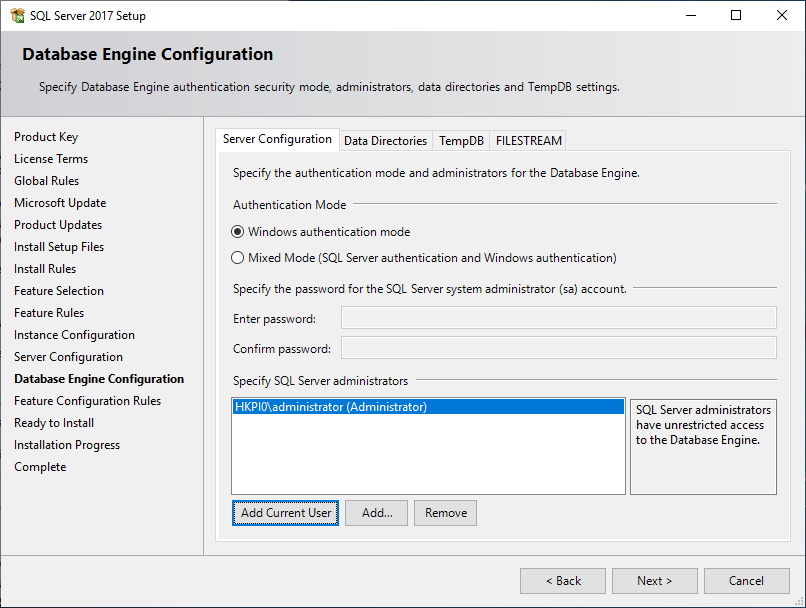
13. 設定數據庫名稱。
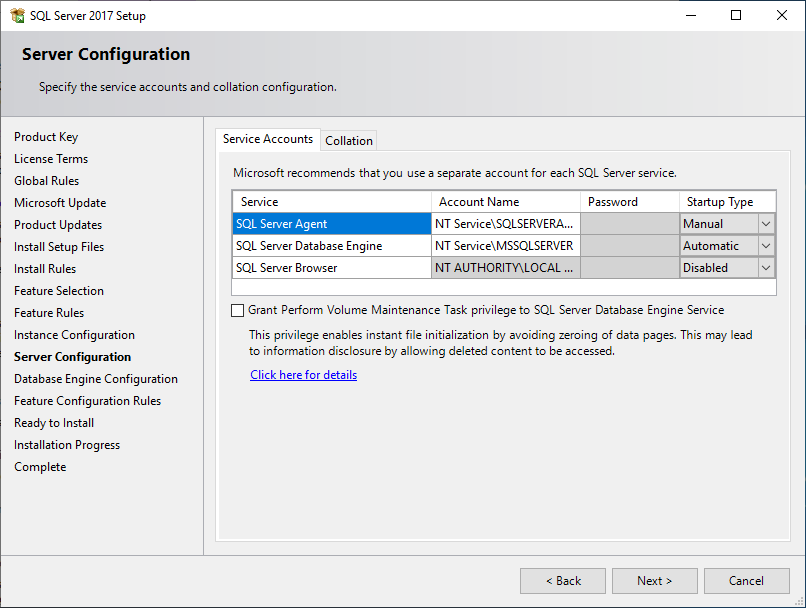
14. Account Name可以暫時使用預設值。
15. 你可以選擇用AD user/password作登入,也可同時設定MS SQL sa帳戶的密碼。
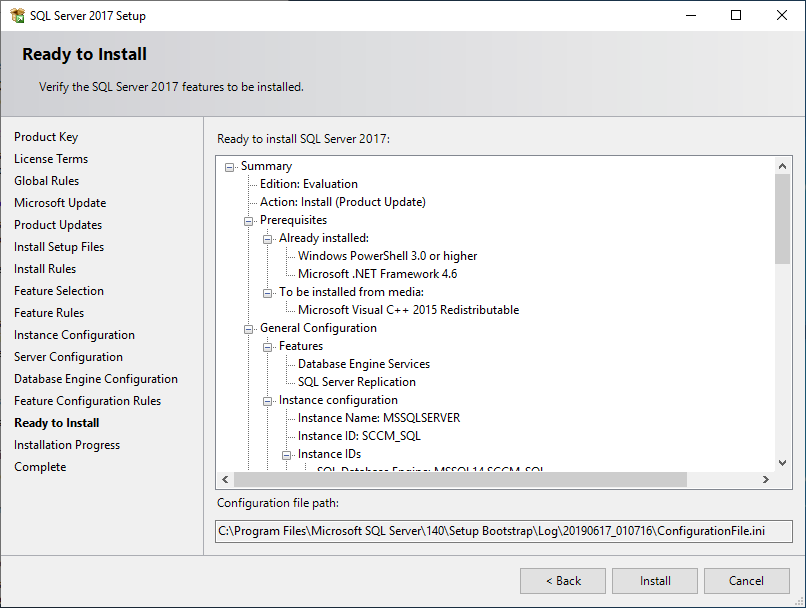
16. 按『Install』開始安裝。
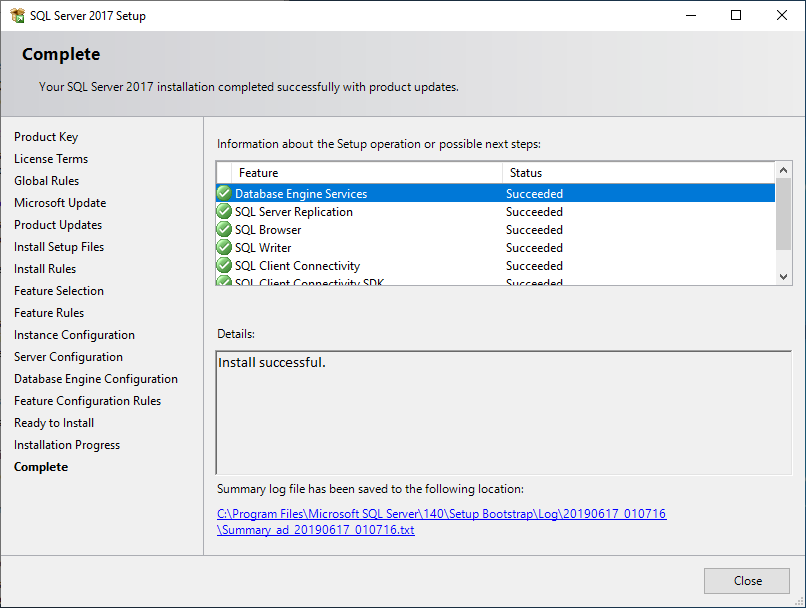
17. 安裝完成。
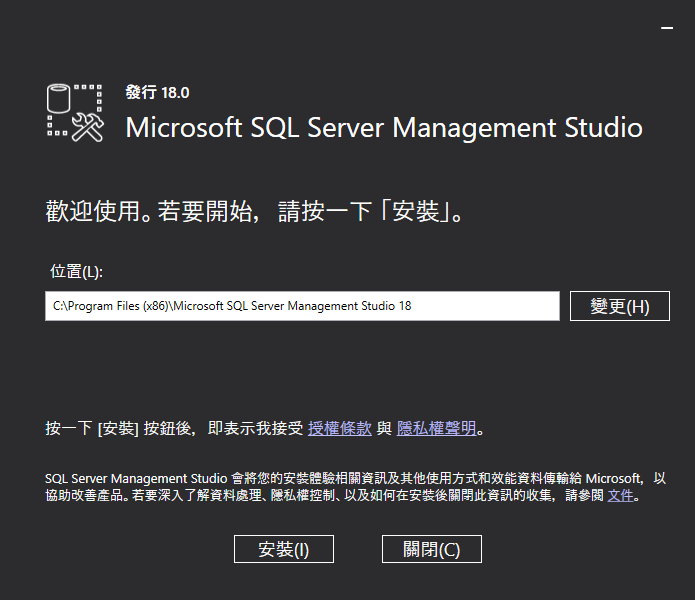
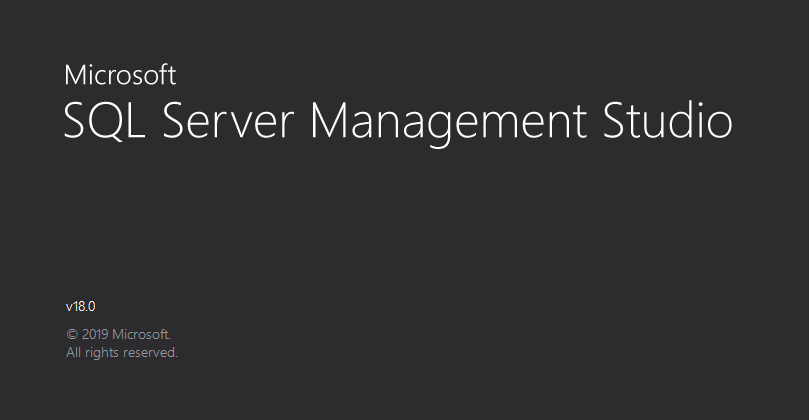
18. 下載及安裝『Microsoft SQL Server Management Studio』。
19. 打開『Microsoft SQL Server Management Studio』,如在此畫面時出現閃退。
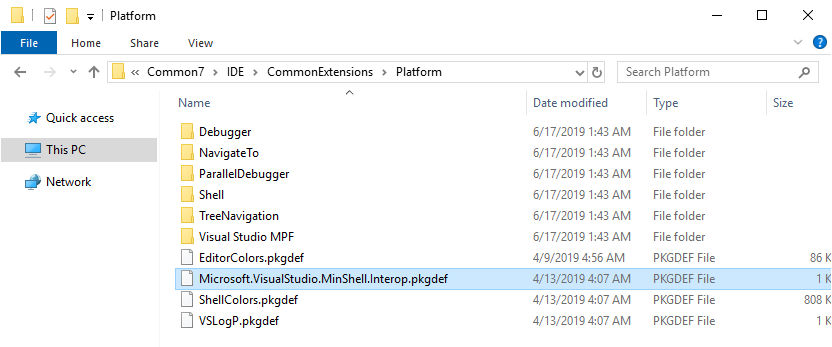
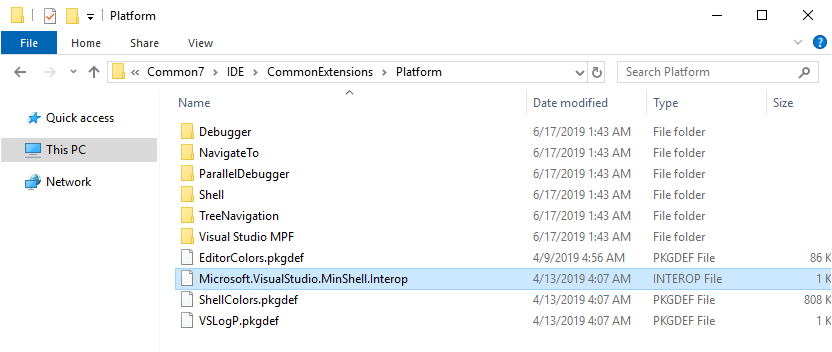
20. 可試在『C:\\Program Files (x86)\\Microsoft Visual Studio\\2018\\Professional\\Common7\\IDE\\CommonExtensions\\Platform』資料夾內把檔案『Microsoft.VisualStudio.MinShell.Interop.pkgdef』更改名稱為『Microsoft.VisualStudio.MinShell.Interop』。
21. 下載及安裝System Center Configuration Manager (SCCM)。
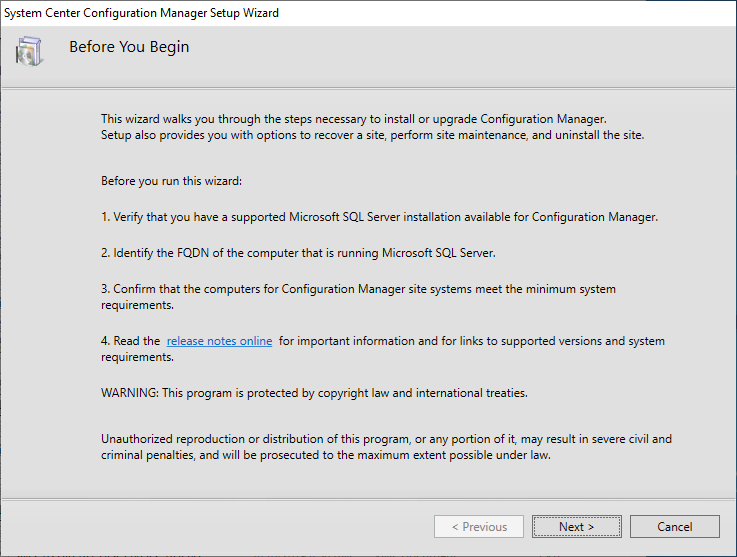
22. 檢查伺服器設定是否合乎SCCM要求。
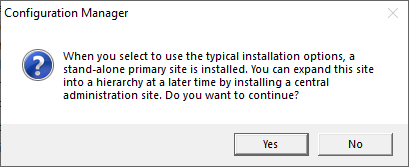
23. 選擇『Install a Configuration options for a stand-alone primary site』及勾選『Use typical installation options for a stand-alone primary site』。

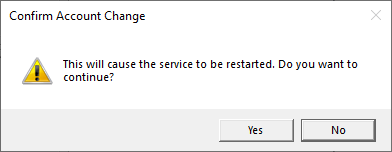
24. 要安裝就一定要按『Yes』。
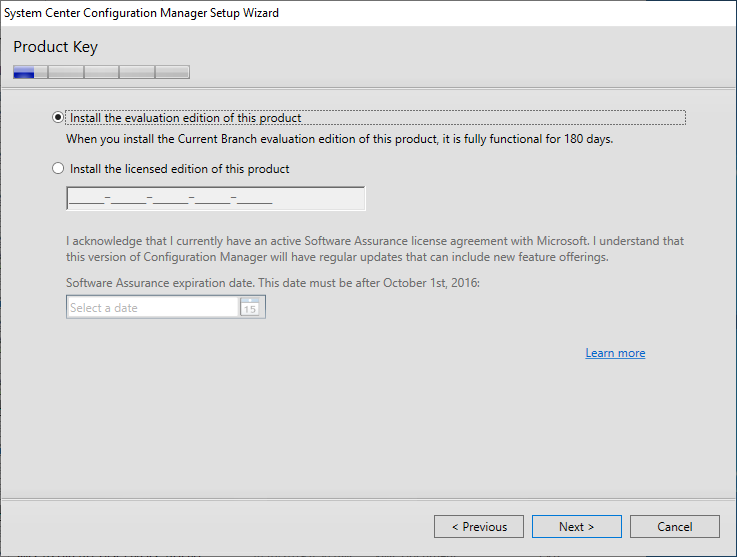
25. 既然是測試,當然選擇『Evaluation』。
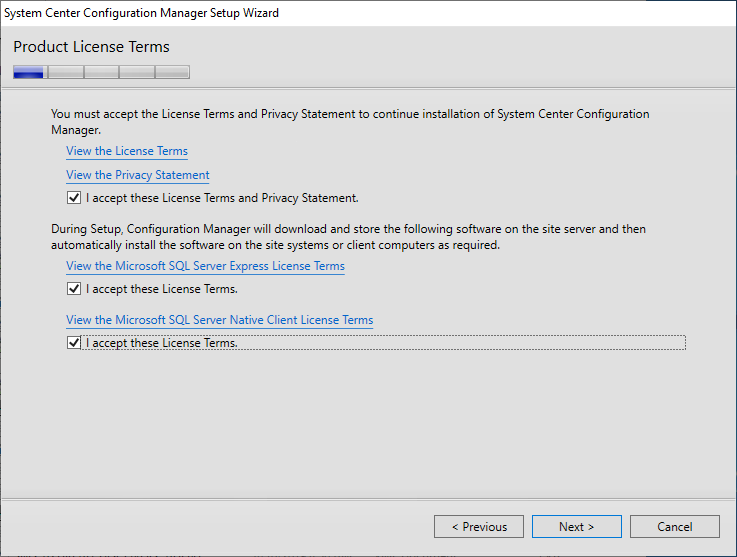
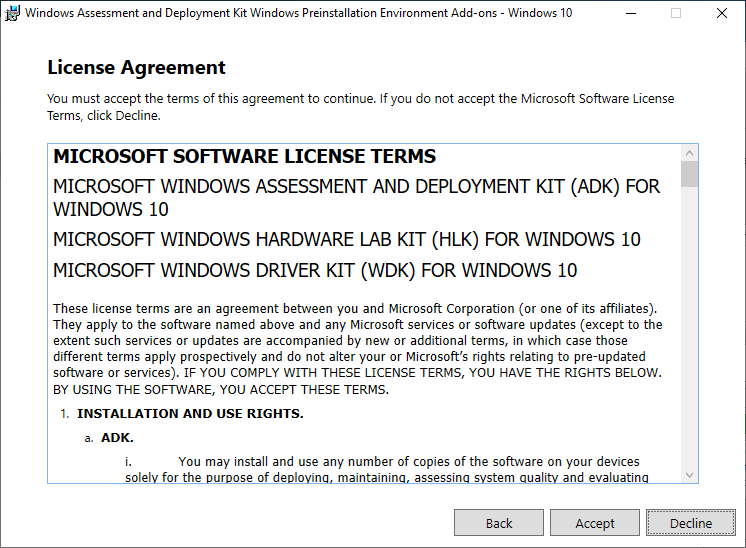
26. 接受軟件協議。
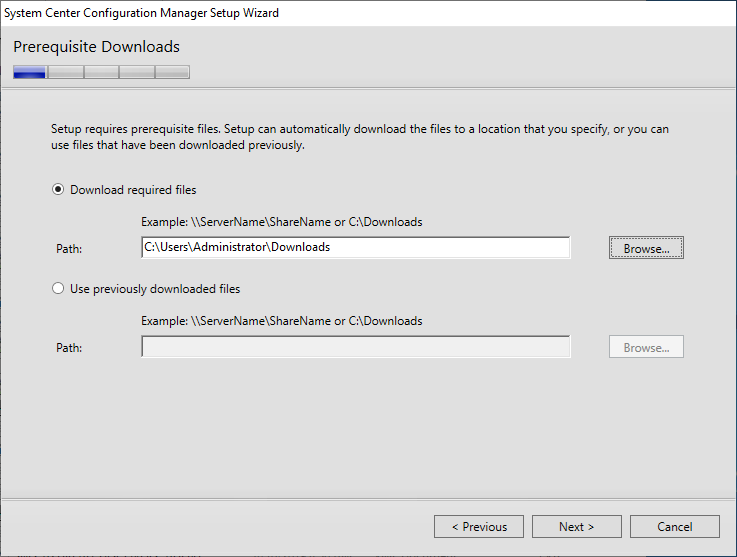
27. SCCM會自動下載需要的相關程式。
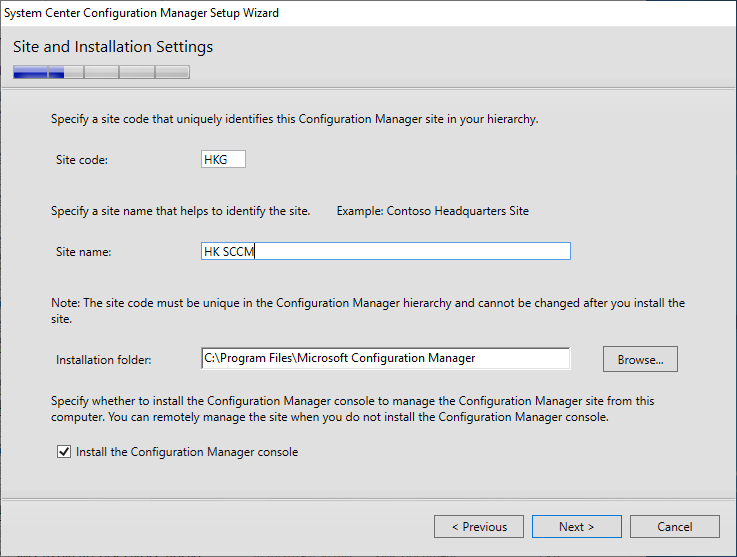
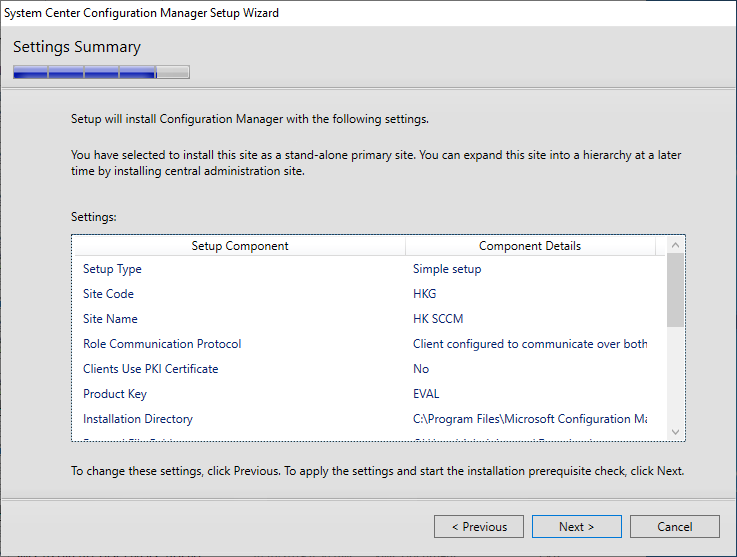
28. 設定『Site code』及『Site name』。
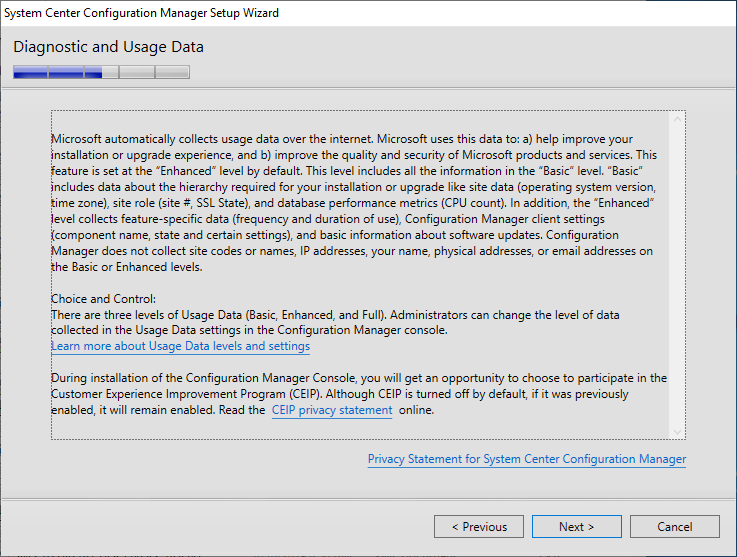
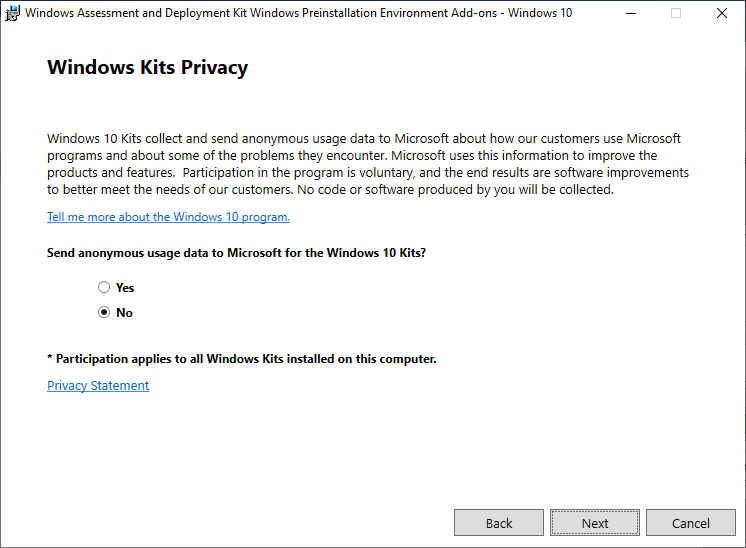
29. Microsoft會收集你的數據,卻沒有拒絕的選項。
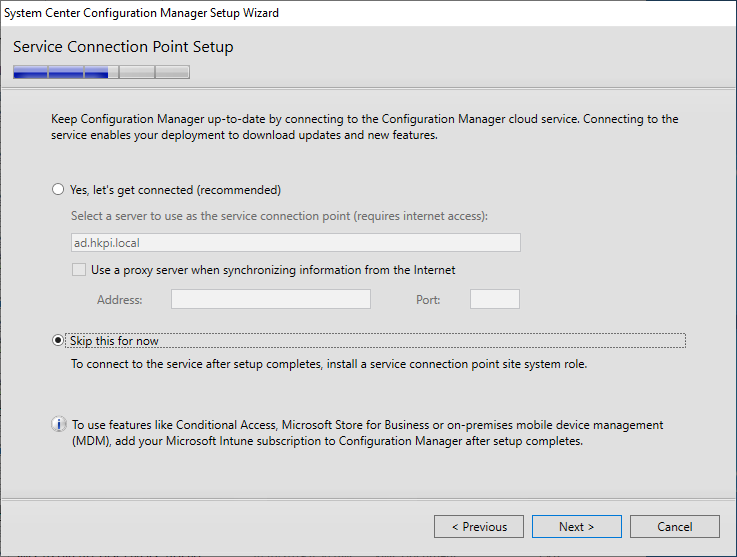
30. 是否接受使用『Configuration Manager cloud service』。
31. 設定確認。
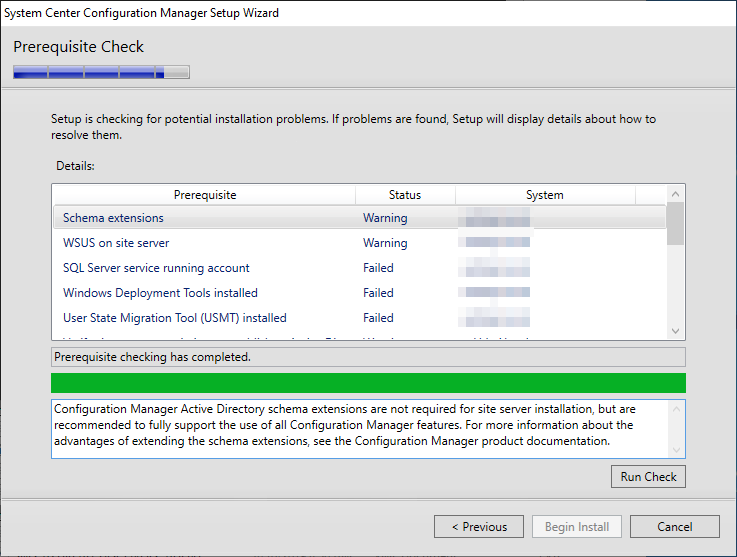
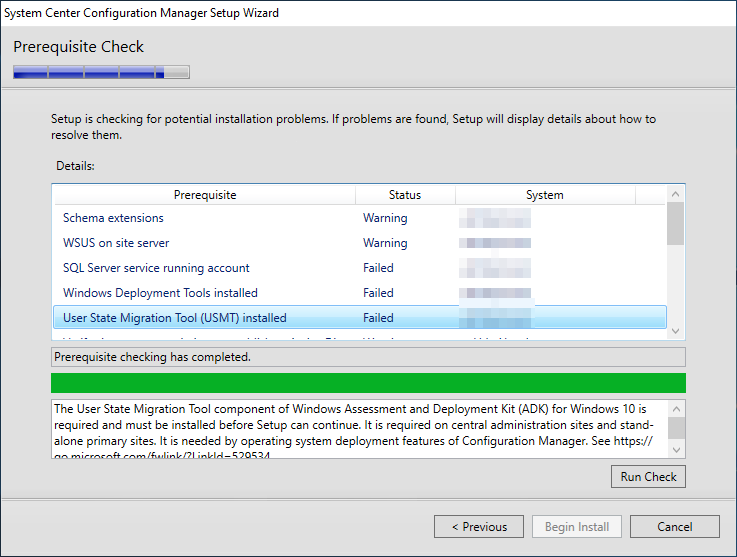
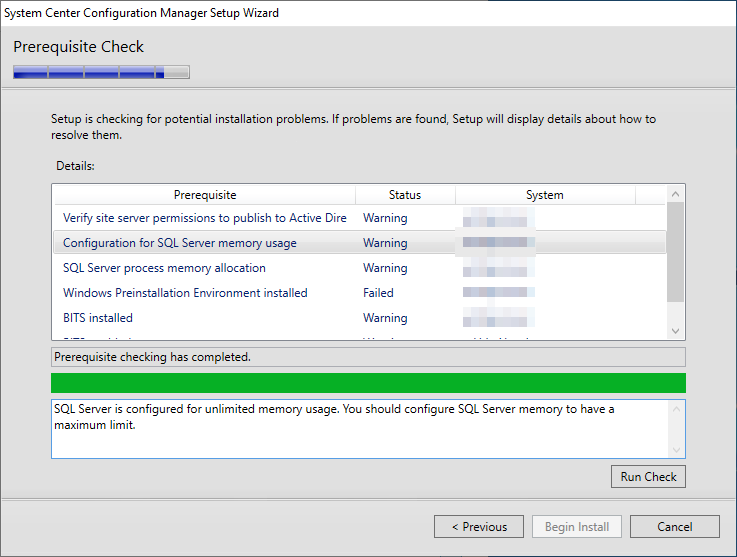
32. 安裝前檢查,總會有幾個出現『Warning』或『Failed』。同上面一樣,『Warning』不一定需要解決,但『Failed』不解決就不能安裝SCCM。

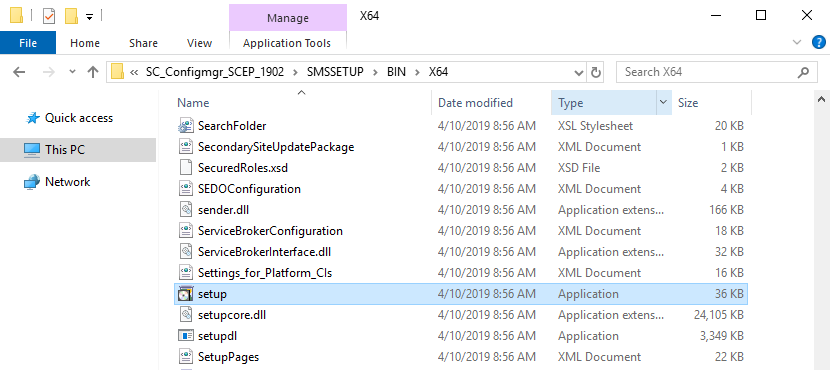
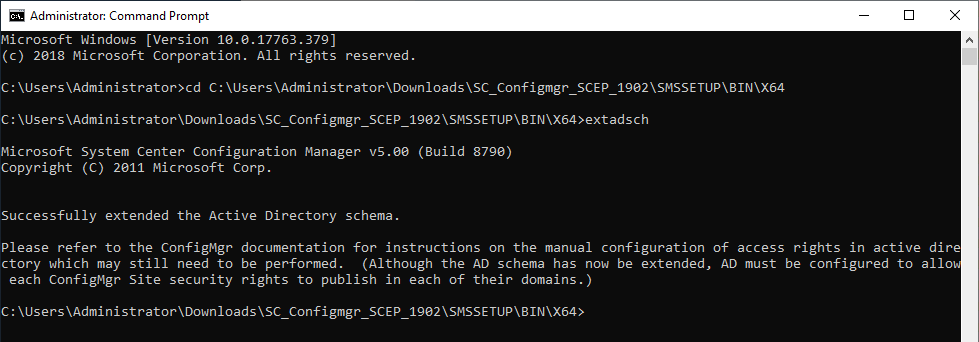
33. Warning: Schema extension: 解決辦法是以系統管理員身份,在上面第27項下載相關程式『SC_Configmgr_SCEP_1902\\SMSSETUP\\BIN\\X64』資料夾內,執行『extadsch.exe』程式。
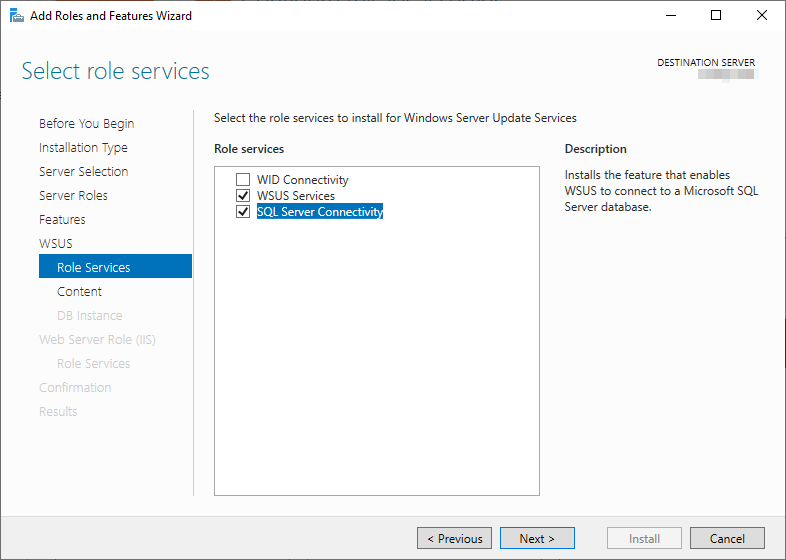
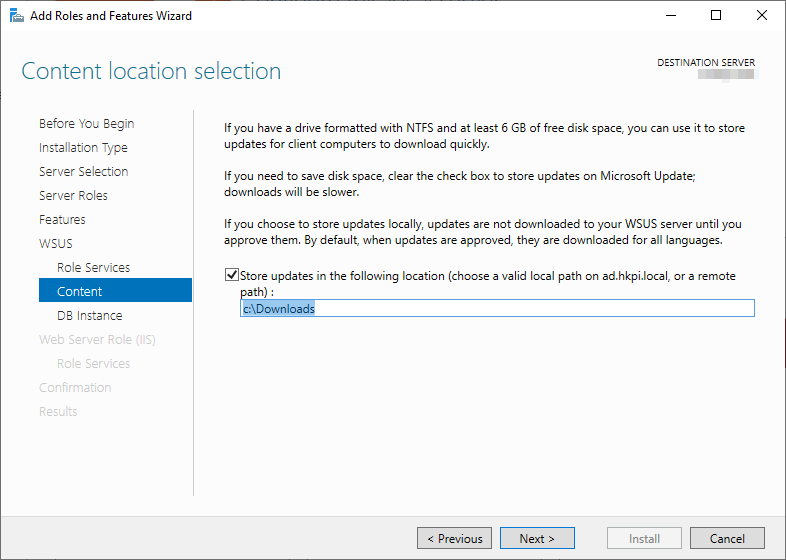
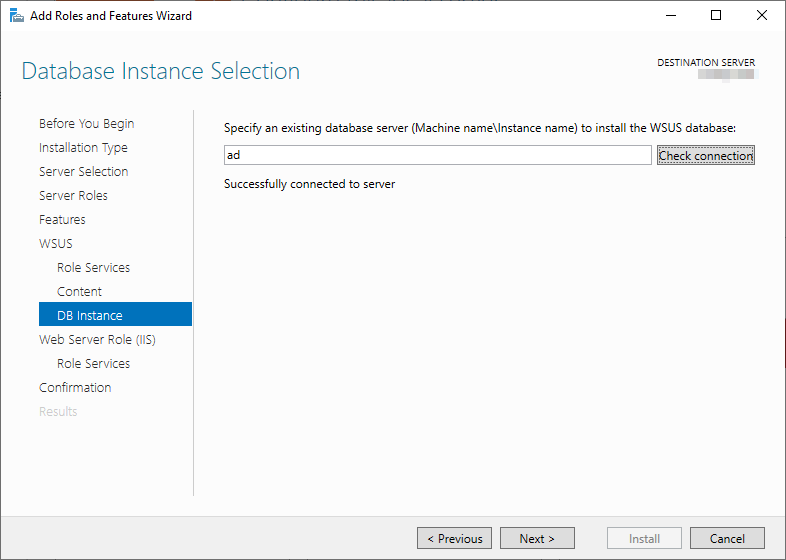
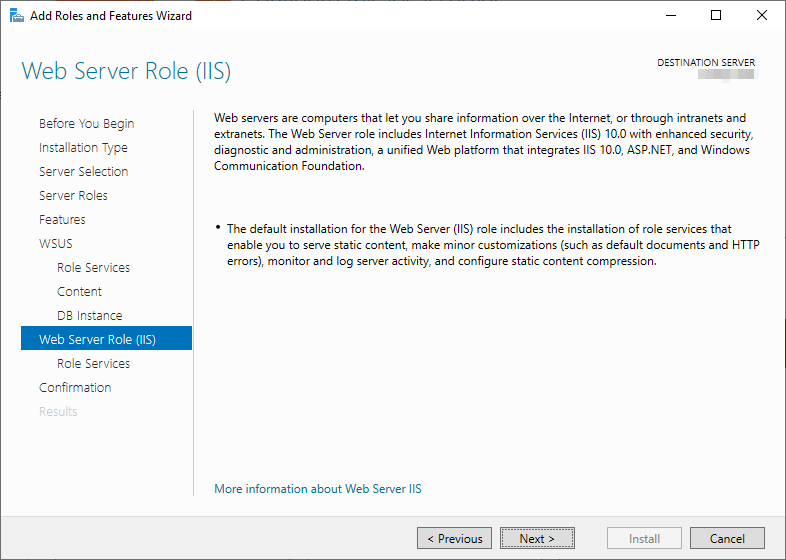
34. Warning: WSUS on site server: 解決辦法是在Windows Server中安裝『Windows Server Update Services』 role及以『SQL Server Connectivity』作為WSUS的數據庫。而為避免每次WSUS也要在Microsoft Update下載,可以在硬碟指定一個位置先下載檔案。
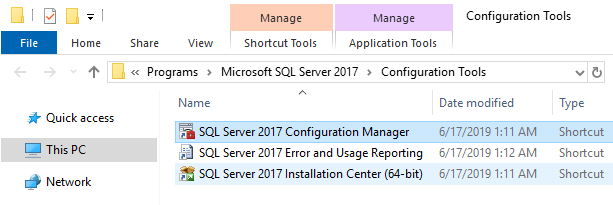
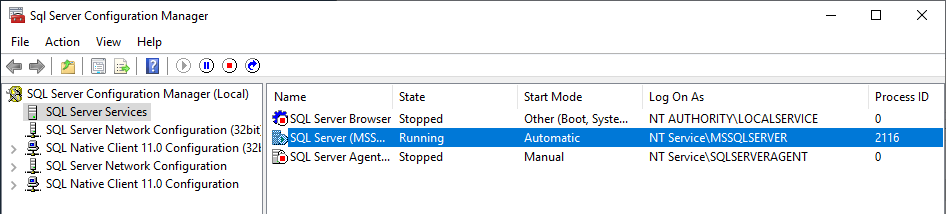
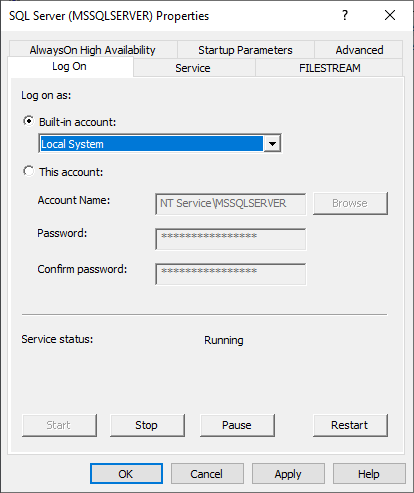
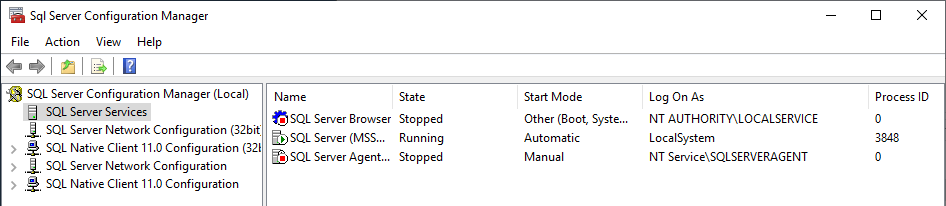
35. Failed: SQL Server service running account: 解決辦法是執行『SQL Server Configuare Manager』,在左邊選擇『SQL Server Services』,右邊選擇『SQL Server (MSSQL)』,在『Log On』欄位將『Log on as』更改為『Built-in account』。
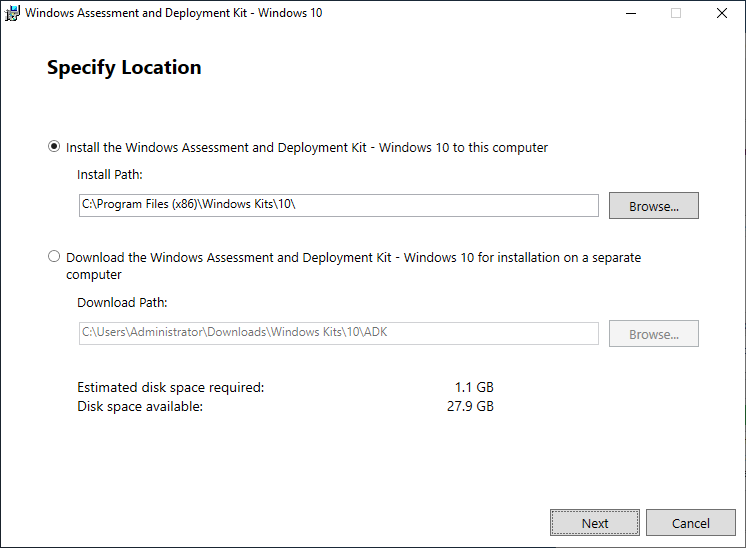
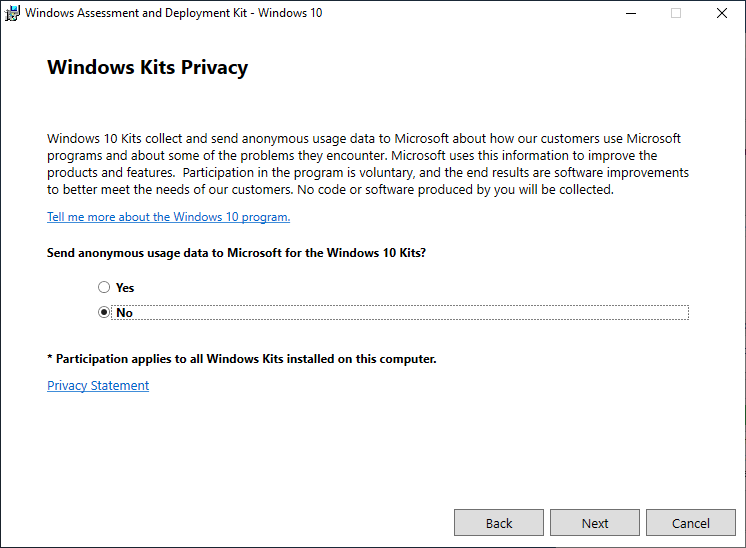
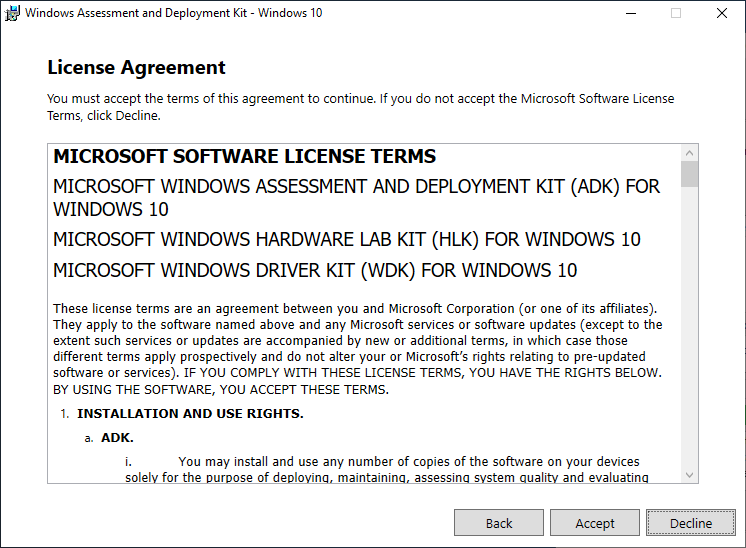
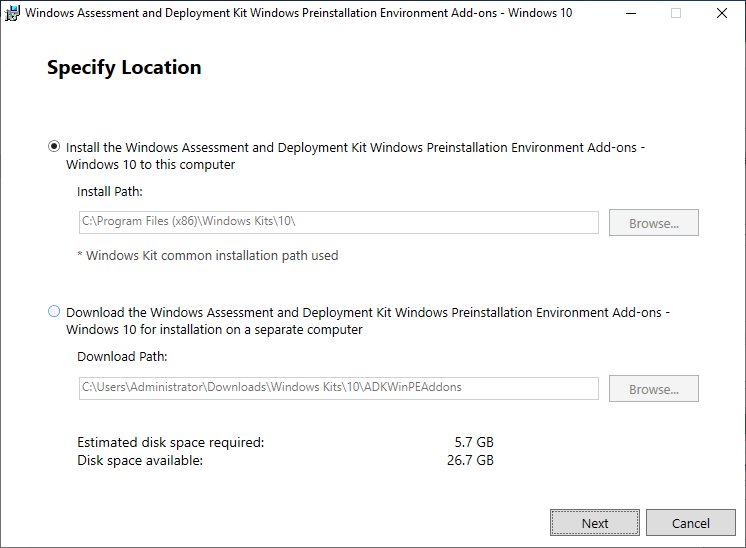
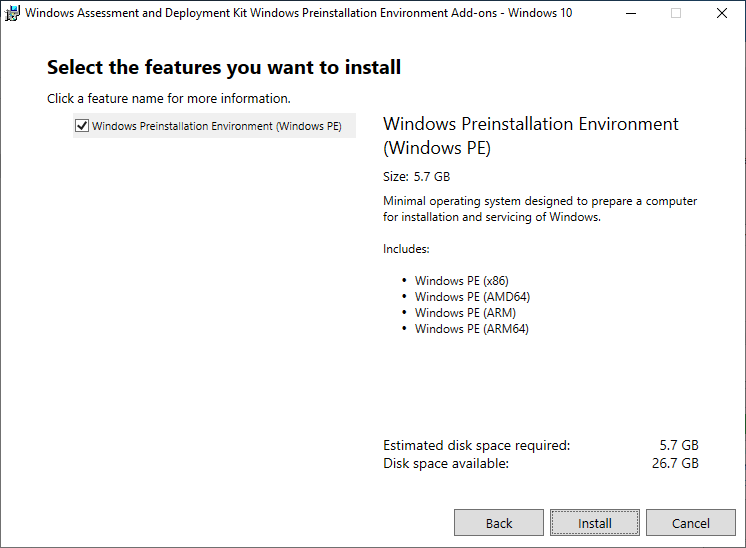
36. Failed: Windows Deployment Tools installed: 解決辦法是在Microsoft網站下車『Windows ADK For Windows 10』及『Windows PE add-on for the ADK』。
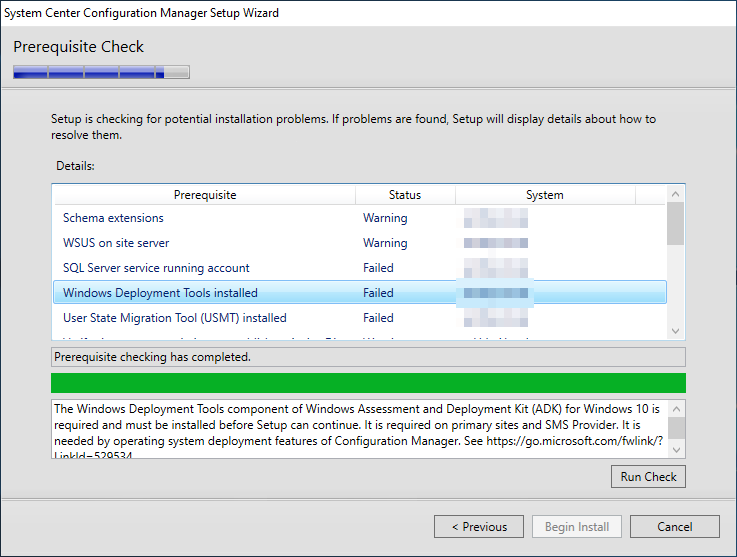
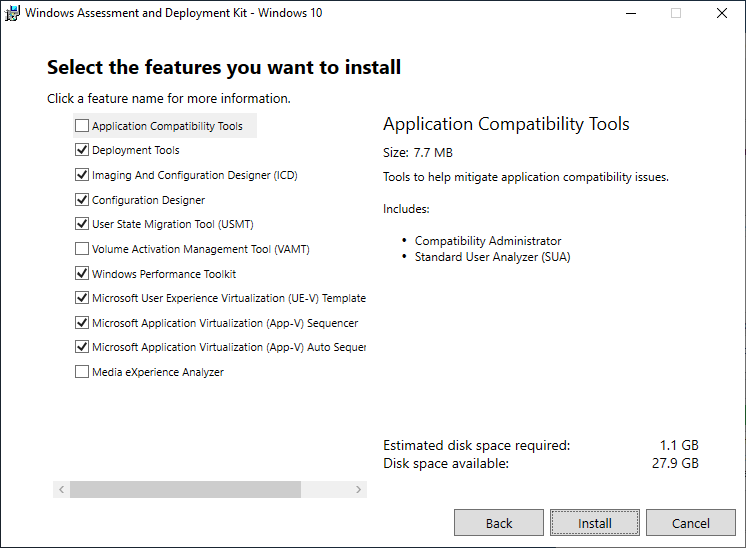

37. Failed: User State Migration Tool (USMT) installed: 安裝上面的Windows ADK,此問題便會同時解決。
38. Warning: Verify site server permissions to publish to Active Directory: 這裡指出SCCM computer account需在AD設定為Full Control。請人手檢查相關設定。
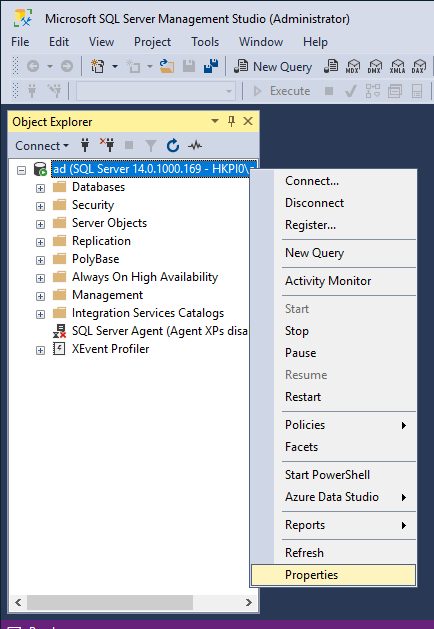
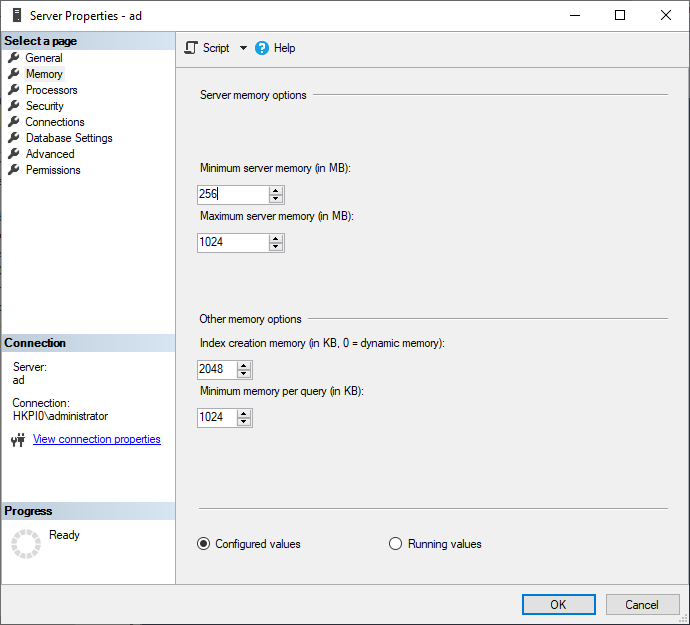
39. Warning: Configuration for SQL Server memory usage: 打開『Microsoft SQL Server Management Studio』,在左邊選擇數據庫,設定合適的伺服器記憶體數量。

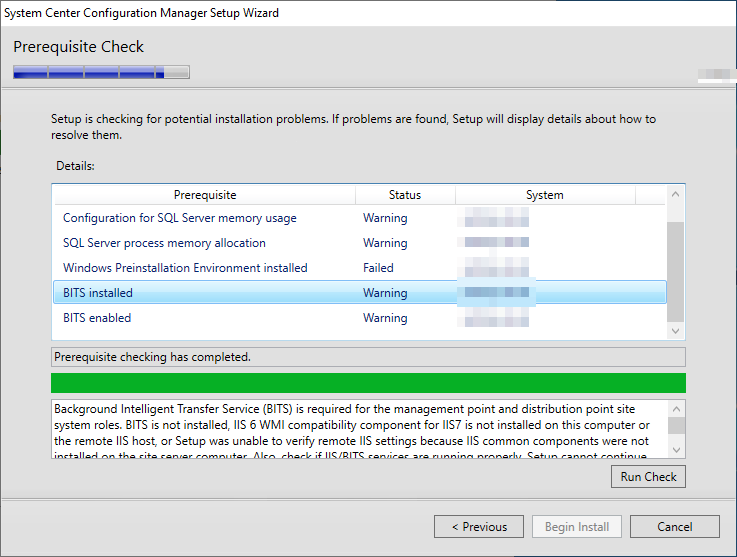
40. Failed: Windows Preinstallation Environment installed: 解決辦法是在Windows Server中安裝『IIS 6 WMI Compatibility』 role及『Background Intelligent Transfer Service (BITS)』 feature。

41. 完成以上步驟,就只剩下1個warning。
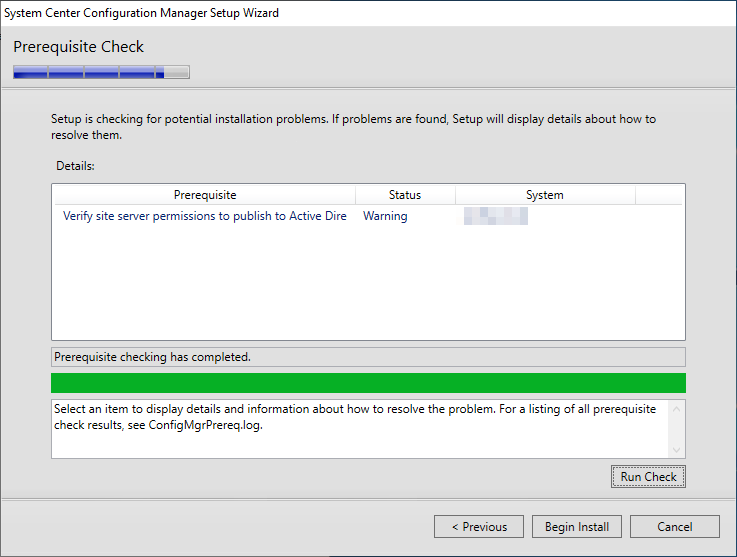
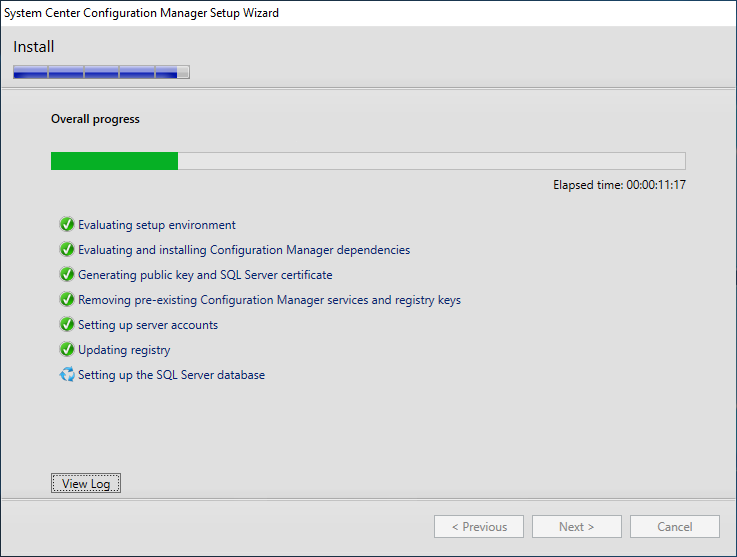
42. 到此便可以開始安裝SCCM程式。
發佈留言