發佈日期:
分類:
如何在Ubuntu 22.04中‧安裝qBittorent
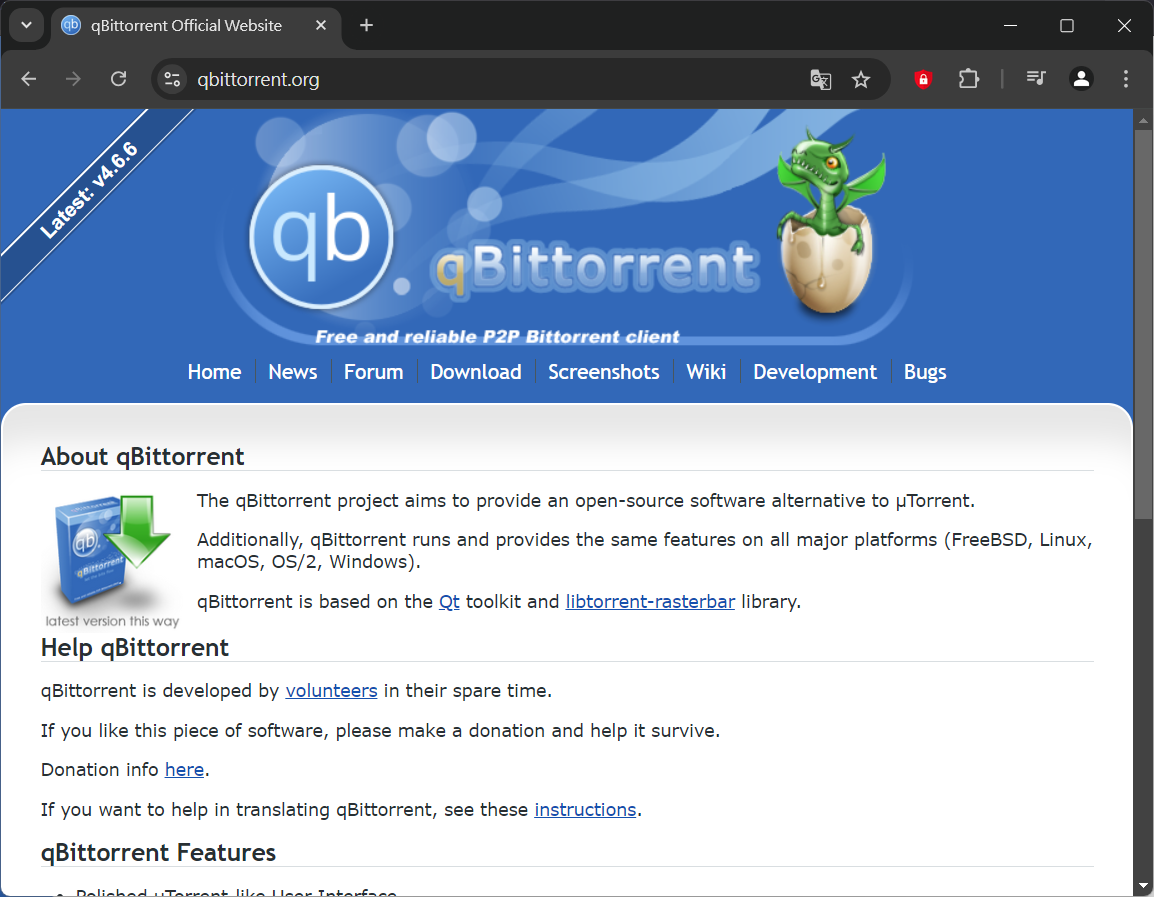
01. 到『qBittorent網站』。
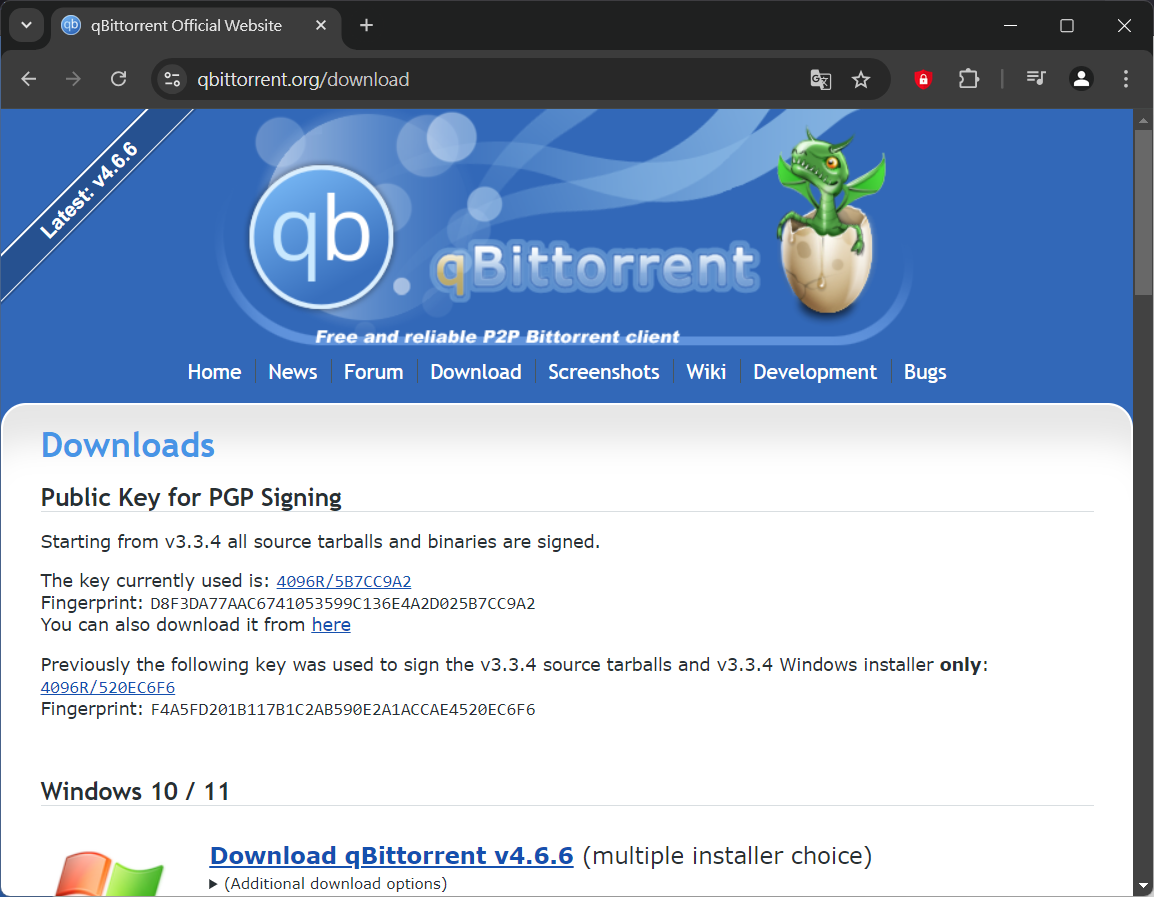
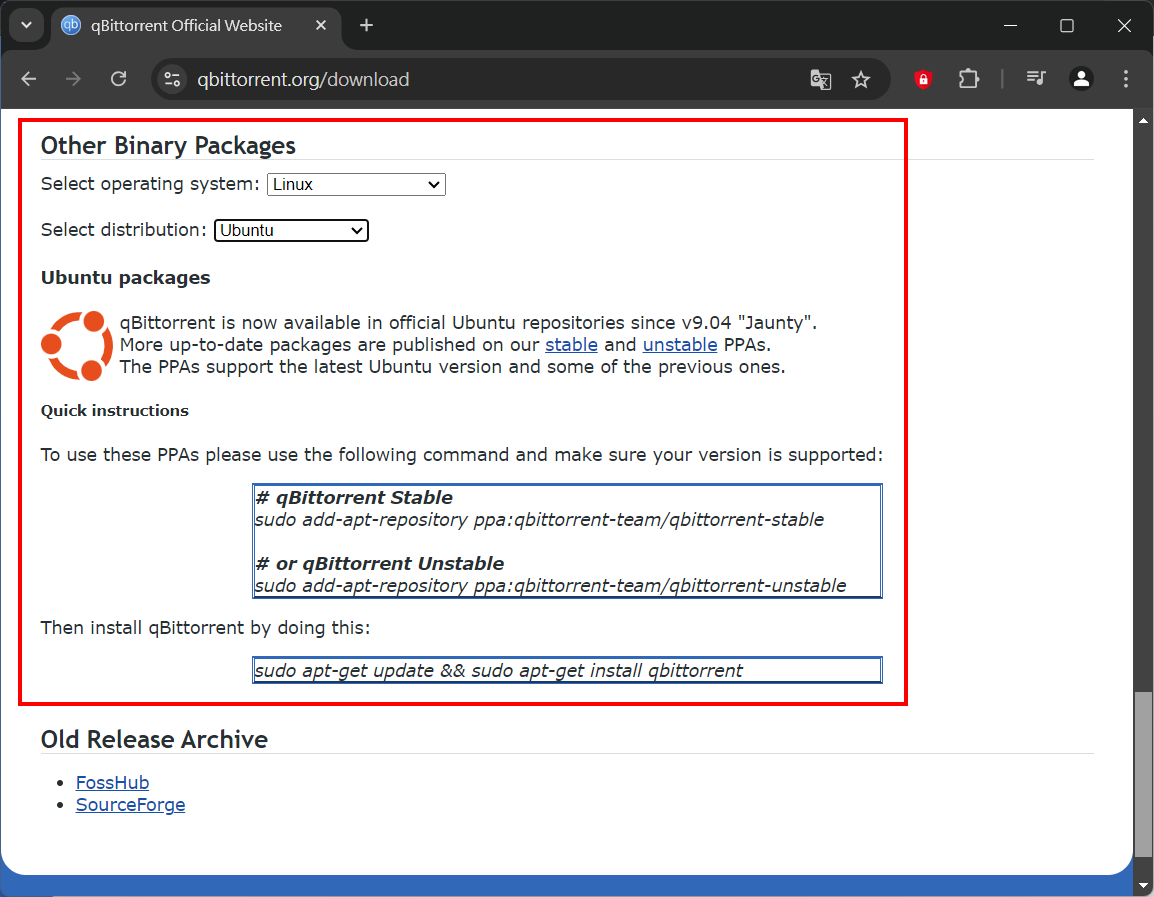
02. 再到『Download欄位』,最下面就找到下載方法。
03. 打開終端機,先更新系統。
sudo apt update
sudo apt upgrade
04. 安裝qBittorent必要相關程式。
sudo apt install dirmngr ca-certificates software-properties-common apt-transport-https
05. 根據之前網站看到的方法,下載qBittorent。
穩定版本:
sudo add-apt-repository ppa:qbittorrent-team/qbittorrent-stable
測試版本:
sudo add-apt-repository ppa:qbittorrent-team/qbittorrent-unstable
06. 更新系統及安裝qBittorent。
sudo apt update && sudo apt install qbittorrent
07. 因為我需要用到qBittorent Web UI,所以要安裝『qBittorrent-nox』。
sudo apt install qbittorrent-nox
08. 加入新用戶。
sudo adduser --system --group qbittorrent
09. 建立系統啟動時自動執行qBittorrent服務腳本。
sudo nano /etc/systemd/system/qbittorrent.service
10. 在『qbittorrent.service』檔案內加入以下內容。
Description=qBittorrent Command Line Client
After=network.target

[Service]
Type=forking
User=qbittorrent
Group=qbittorrent
UMask=007
ExecStart=/usr/bin/qbittorrent-nox -d --webui-port=8080
Restart=on-failure

[Install]
WantedBy=multi-user.target
11. 啟用qBittorrent程式。
sudo systemctl start qbittorrent
12. 啟用啟動時自動執行qBittorrent服務腳本。
sudo systemctl enable qbittorrent
12. 可用以下指令檢查qBittorrent執法狀況。
sudo systemctl status qbittorrent
13. 打開瀏覽器,輸入『
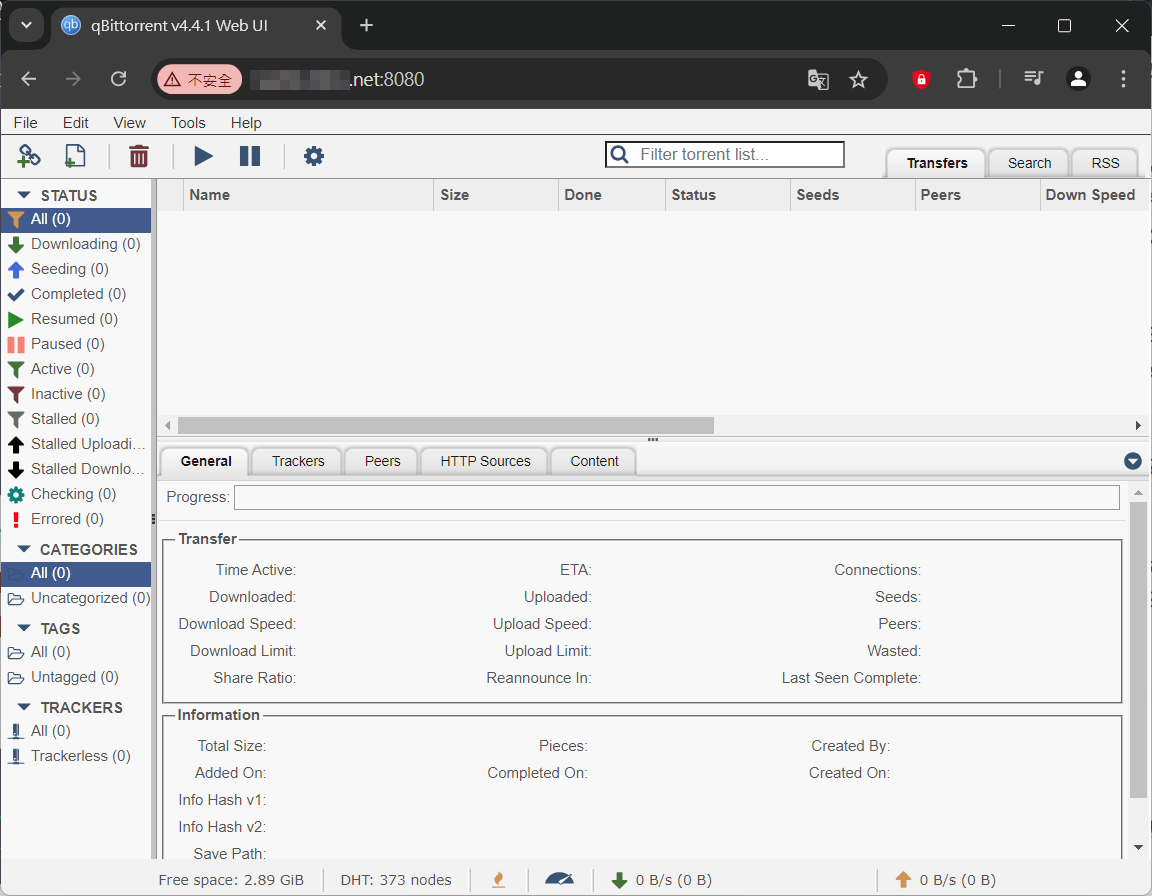
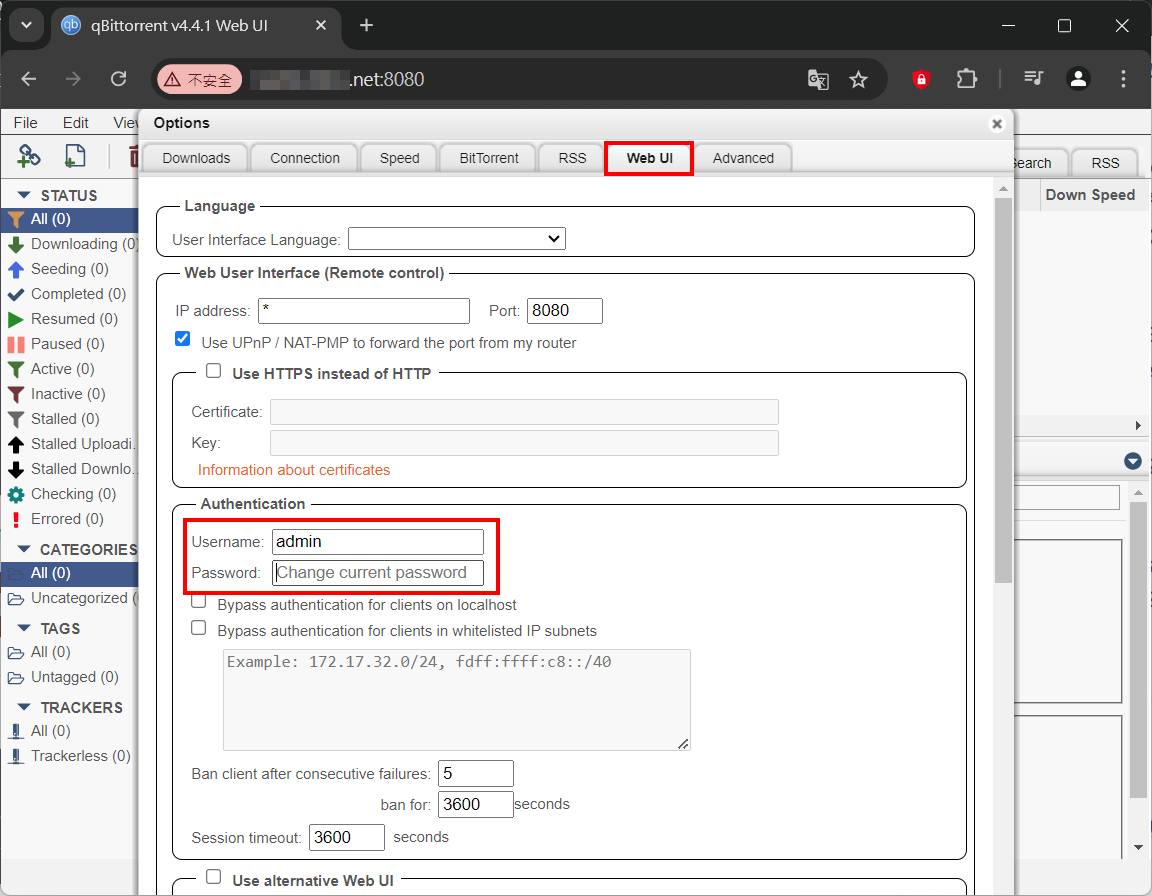
14. 登入後,就可以去『Tools』、『Options』中,再到『Web UI』欄位設定新的密碼。

發佈留言