
分類:
如何在PrestaShop 1.4.0.17下‧整合osTicket 1.6
想不到在測試PrestaShop的短短個多月內,PrestaShop版本已由1.3.5,跳到1.4.0.17。而且,居然那麼快就有人用新版本來做測試。前幾天,有人問了,Prestashop 1.4.0.17是否可以用之前的方法,來整合osTicket。今天測試了,一點問題也沒有,在此分享一下做法。
01. 為免麻煩,今次只做整合工作,不會再檢查用戶是否PrestaShop用戶,即任何人在用戶畫面也可以使用此票務系統。
02. 安裝Prestashop 1.4.0.17到/var/www資料夾。
03. 安裝osTicket到/var/www/osticket資料夾。
04. 如果安裝osTicket時,出現short_open_tag變數錯誤,可在/var/www/osticket資料夾內建立.htaccess檔案,並貼上以下內容。
sudo gedit /var/www/osticket/.htaccess
php_flag short_open_tag on
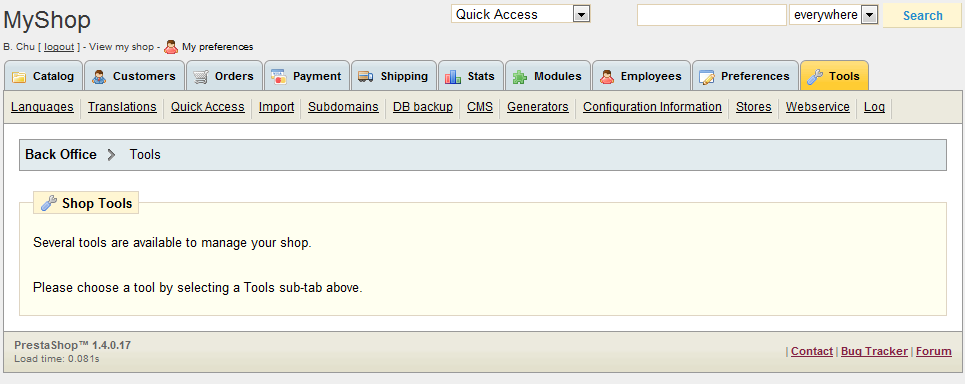
05. 登入PrestaShop管理員版面。在上面目錄選『Tools』,再選『CMS』。
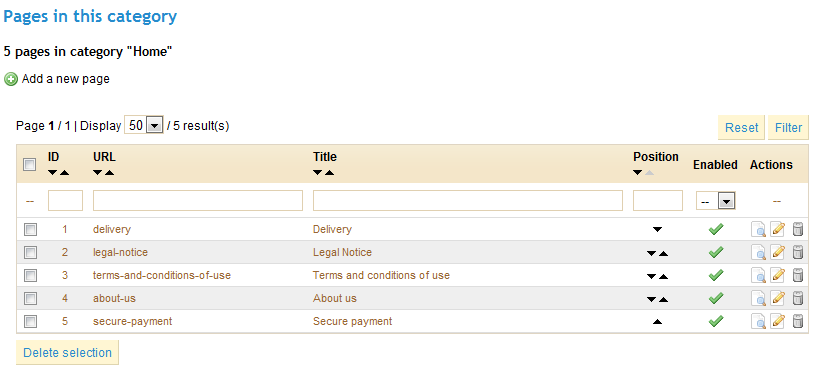
06. 在『Pages in this category』一項選『Add a new page』。
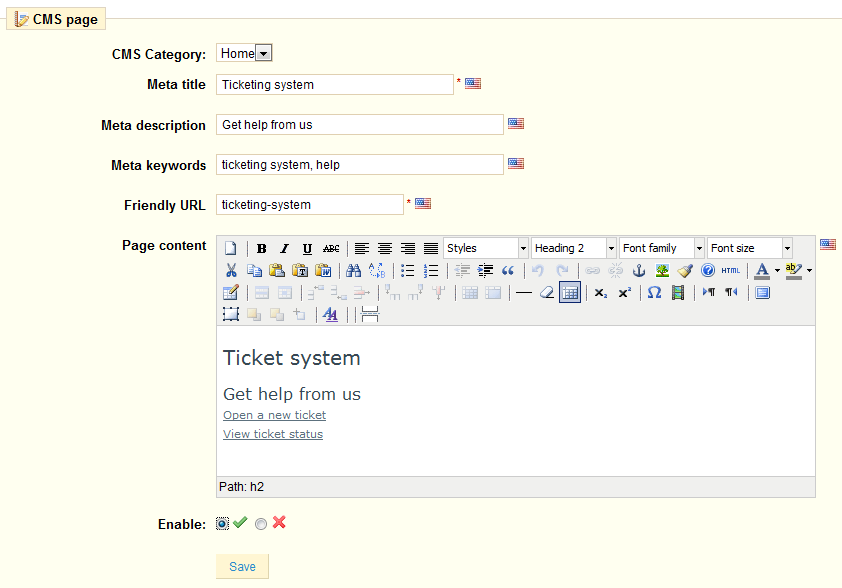
07. 在『CMS page』中填入內容。
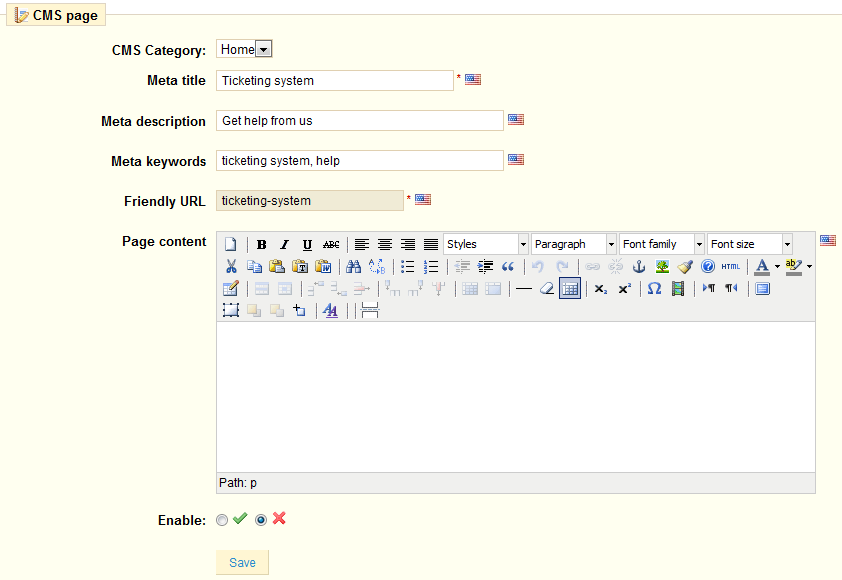
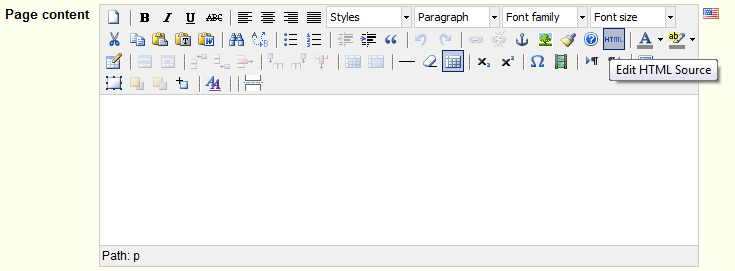
08. 在『Page content』一項中按『HTML』圖案。
09. 在『HTML Source Editor』對話匣,貼上以下內容。完成後按『Update』,回到之前畫面,再在『Enable』一欄打勾,再按『Save』。
<h2>Ticket system</h2>
<h3>Get help from us</h3>
<p><a class="thickbox" title="Open a new ticket" href="osticket/open.php?keepThis=true& TB_iframe=true&height=500&width=820">Open a new ticket</a></p>
<p><a class="thickbox" title="View ticket status" href="osticket/login.php?keepThis=true& TB_iframe=true&height=500&width=820">View ticket status</a></p>
10. 在上面目錄選『Modules』,在『Search』位置打入CMS作搜尋。
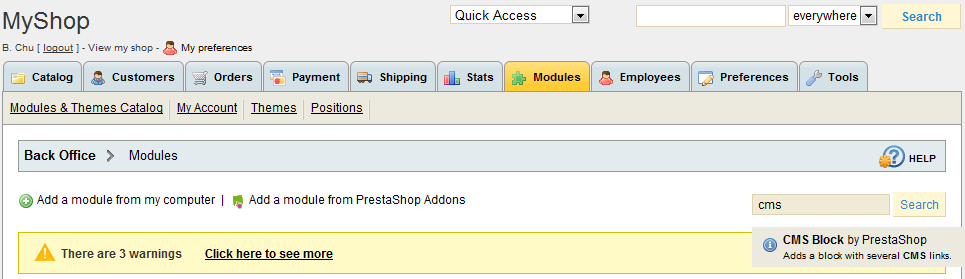
11. 找到『CMS Block v1.1』模組後,按『Configure』。

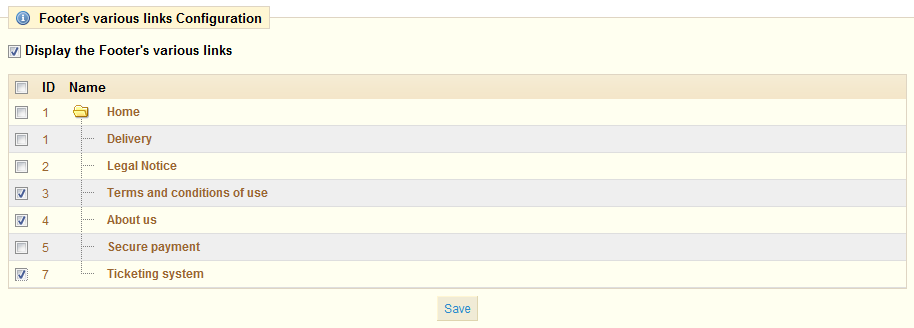
12. 如需要在頁尾位置加上連結,把『Footer’s various links Configuration』中的『Ticketing system』打勾,再按『Save』。
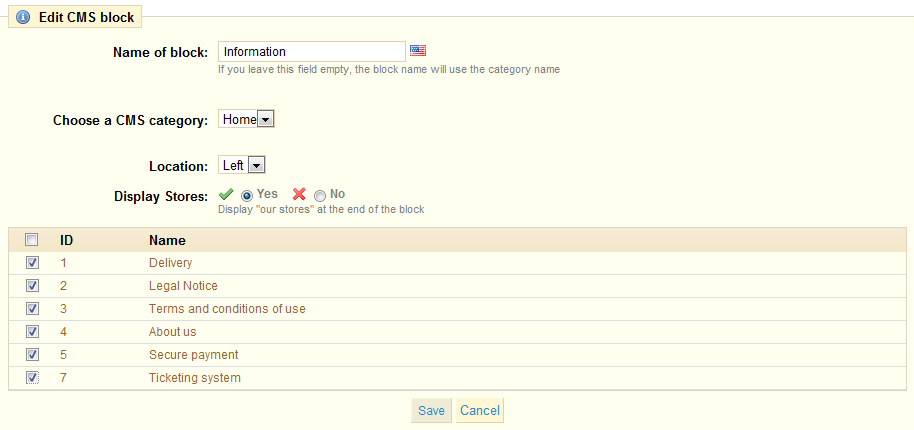
13. 如需要在用戶畫面左面目錄中的『CMS』中加入『Ticketing system』選項,在『List of Left CMS blocks』下面的『Information』選項中,按『Edit』。
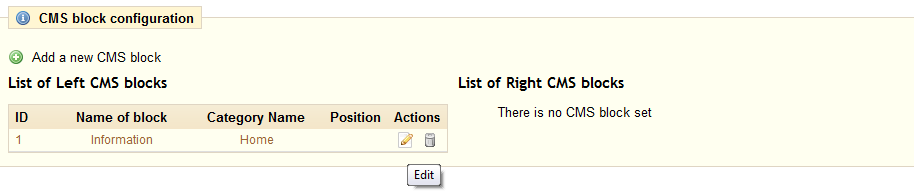
14. 在『Ticketing system』一項打勾,再按『Save』。
15. 編輯/var/www/cms.php檔案。在檔案最頭位置,貼上以下內容。
sudo gedit /var/www/cms.php
<script type="text/javascript" src="thickbox/jquery.js"></script>
<script type="text/javascript" src="thickbox/thickbox.js"></script>
<link rel="stylesheet" href="thickbox/thickbox.css" type="text/css" media="screen" />
16. 下載thickbox.zip程式,將3個檔案,jquery.js、thickbox.js、thickbox.css放在/var/www/thickbox資料夾內。
sudo unzip thickbox.zip -x /var/www/prestashop/
17. 打開PrestaShop用戶畫面,會在左面目錄及頁尾找到『Ticketing system』選項。
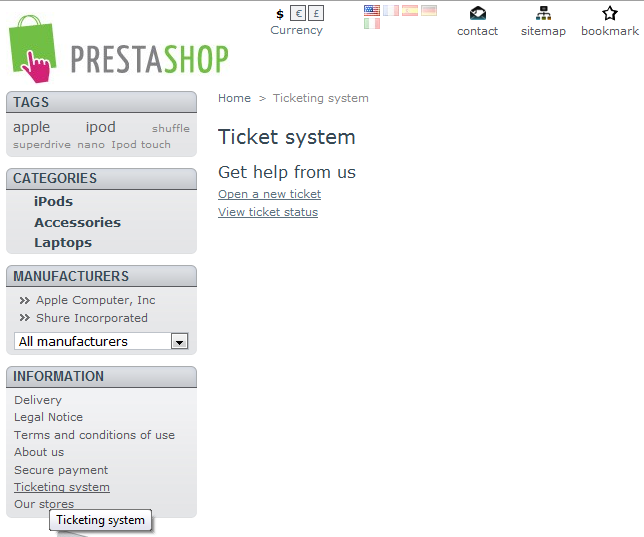
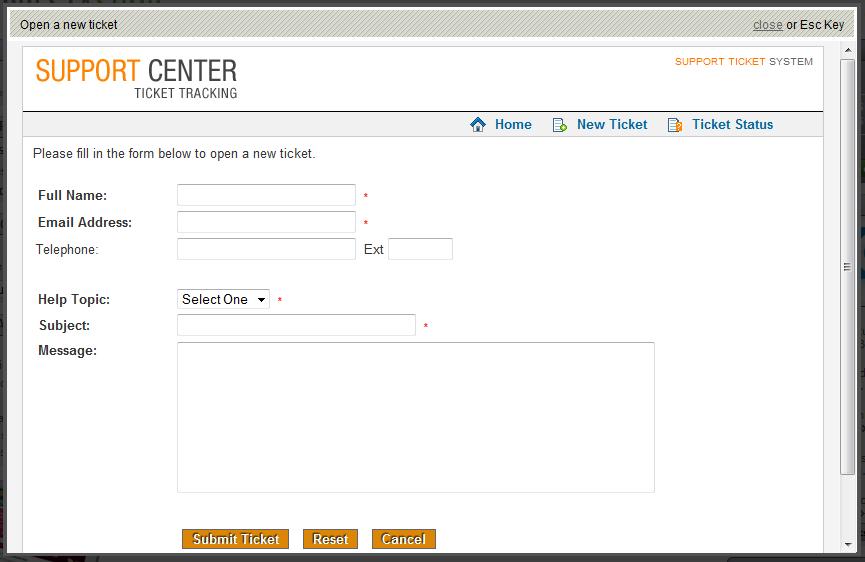
18. 按下『Open new ticket』或『View ticket status』,便可看到osTicket畫面。
發佈留言